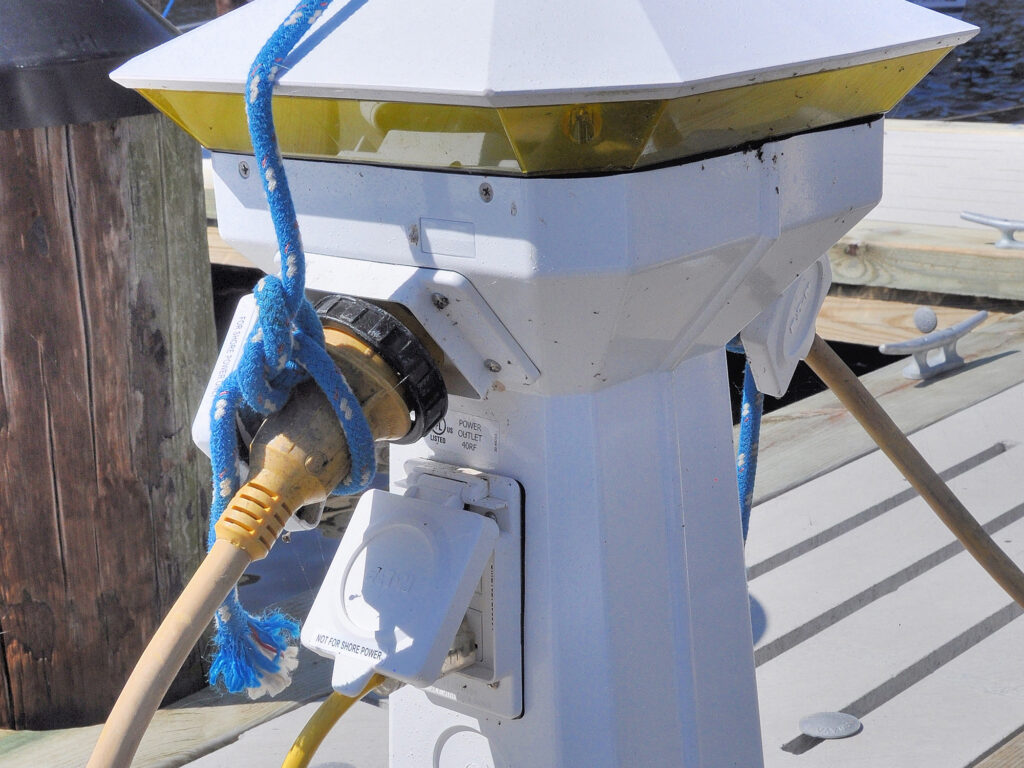
Repairing a shore power cable is a straightforward project that can be tackled comfortably while seated—either indoors or aboard your boat. Shore power is a marina luxury that keeps your batteries charged and powers AC (alternating current) appliances when a “ring main” is installed in the cabins or galley, not to mention another desirable AC acronym, Air Conditioning, if your boat has it fitted. Most marinas provide power pedestals at each dock, typically offering 30-amp, 120-volt outlets. Some also have 50-amp connections for boats with higher power demands, as well as 15-amp outlets intended for light use, such as running a single tool. However, these smaller outlets are usually marked “not for shore power” and shouldn’t be used to handle a boat’s heavier electrical load.
The heavy cables that are needed to connect a boat to shore power can be bought on the web or at chandlers.
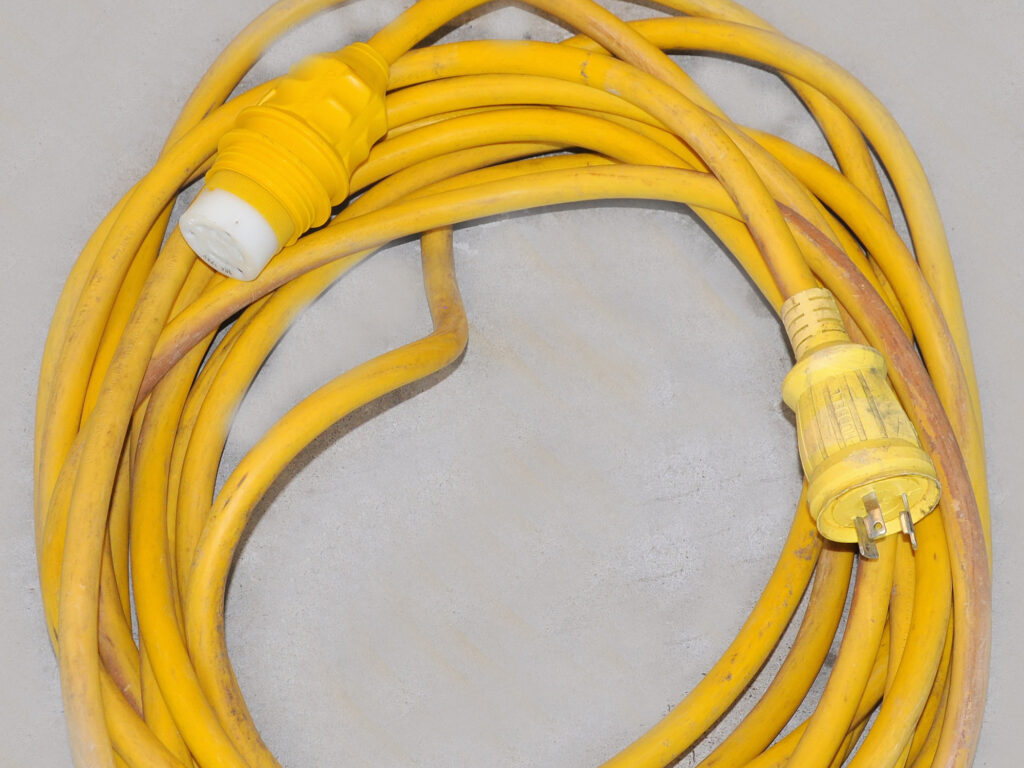
The most common type in the US is made by Marinco Inc., but there are also others with the same terminal connectors. All have a male and female plug at each end of cables that are available in various lengths. It’s also possible to buy the wires and the plugs separately to make custom lengths to suit a boat that is always moored in the same dock space. It’s better to use a length that is not overly long, to reduce resistance and overheating of the cable that is exposed to the elements day-in and day-out.
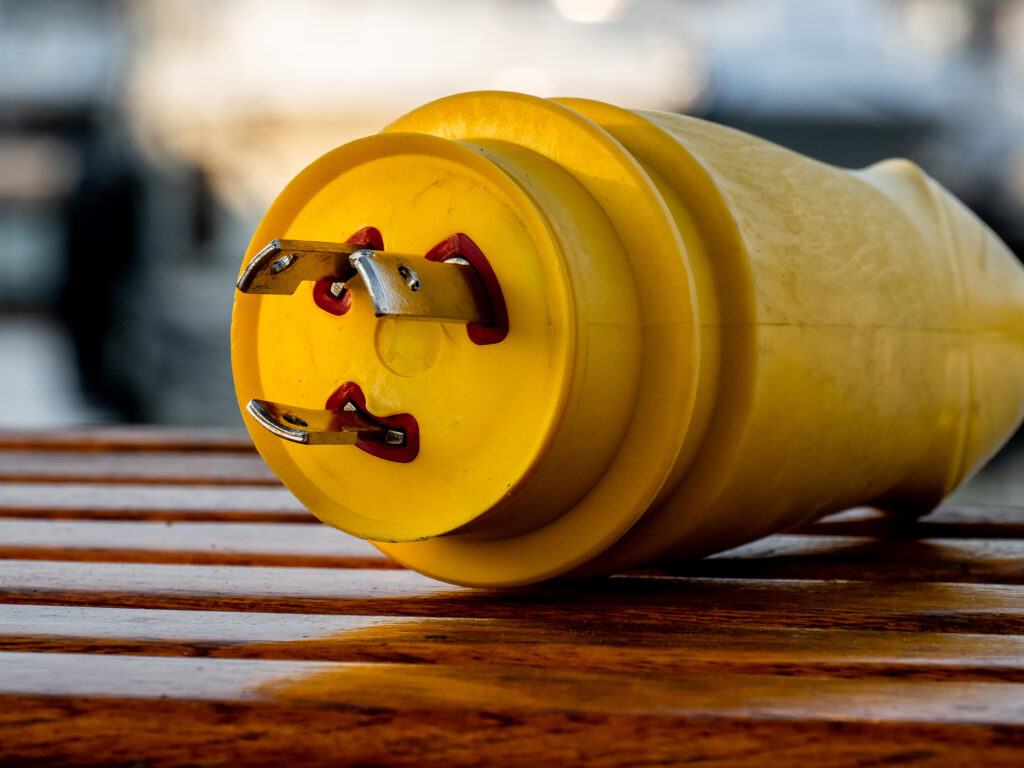
The actual plugs on the ends of these cables are a special configuration that consists of power (black), return (white) and ground (green), and they only plug into a receptacle one way.
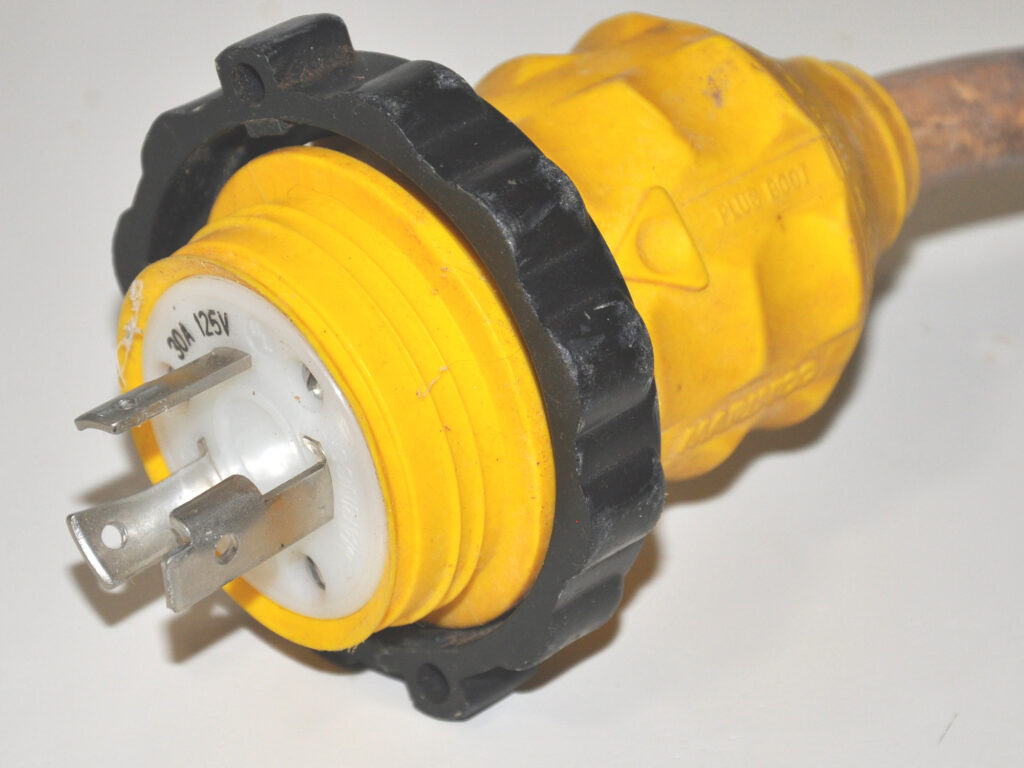
They may also have a black locking ring that enables them to be securely attached to a pedestal or a boat that has corresponding threads.
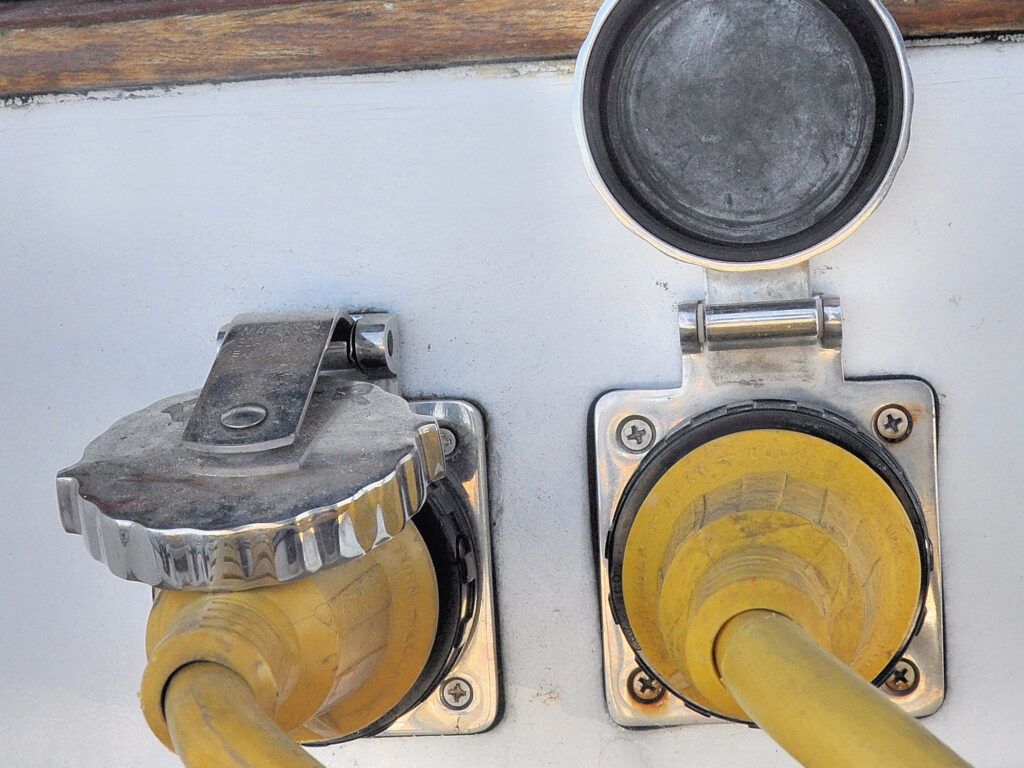
Some pedestal receptacles are angled downward to reduce the incursion of rainwater that could short out the plugs.
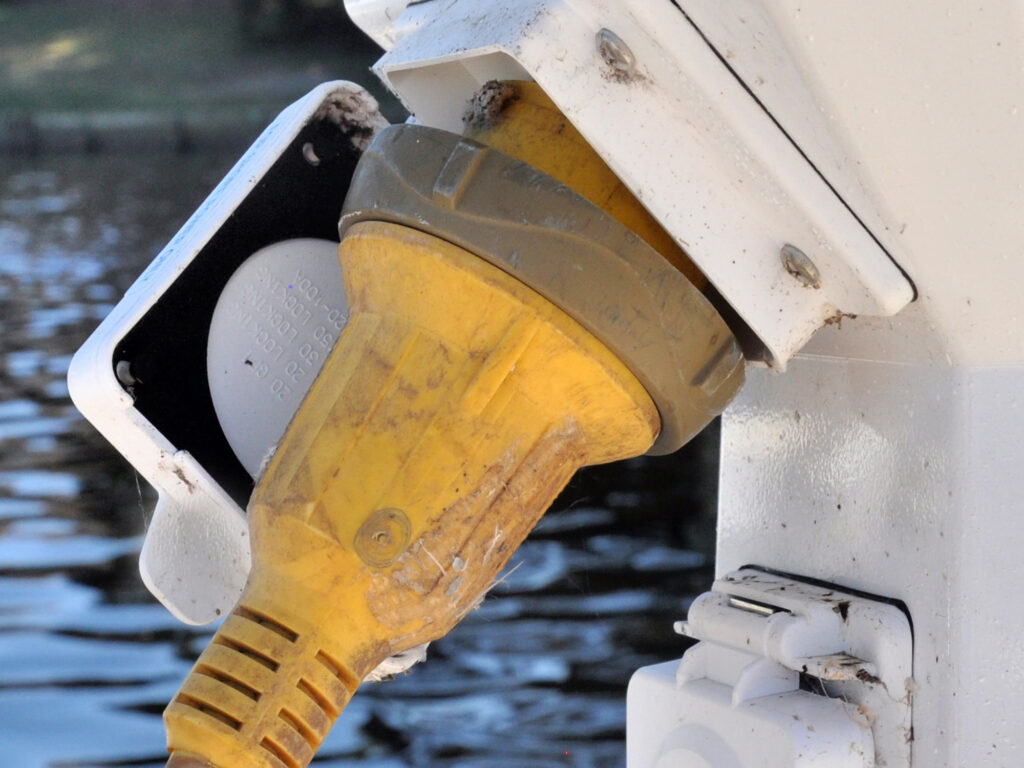
If there is no locking ring facility, this type of angled connection is very susceptible to working loose due to the movement of the boat or even the wind. The only remedy is to tie the plug to the pedestal. If there is no locking ring facility on the pedestal it is still useful as a ¼-inch rope fits nicely between the ring and the boot that can then be tied to the pedestal.
If, through a bad connection, the plug overheats inside the receptacle, it usually trips the contact breaker, but if it continues to short out, it can start a fire inside the pedestal. Over time the plugs also become corroded due to the environment they operate in, making it necessary to replace the entire plug or the outer plug connector part of it.
Note: If either plug of a manufacturer’s shore-power cable still has the original plugs attached, they cannot be dismantled because they are one-piece molded assemblies.
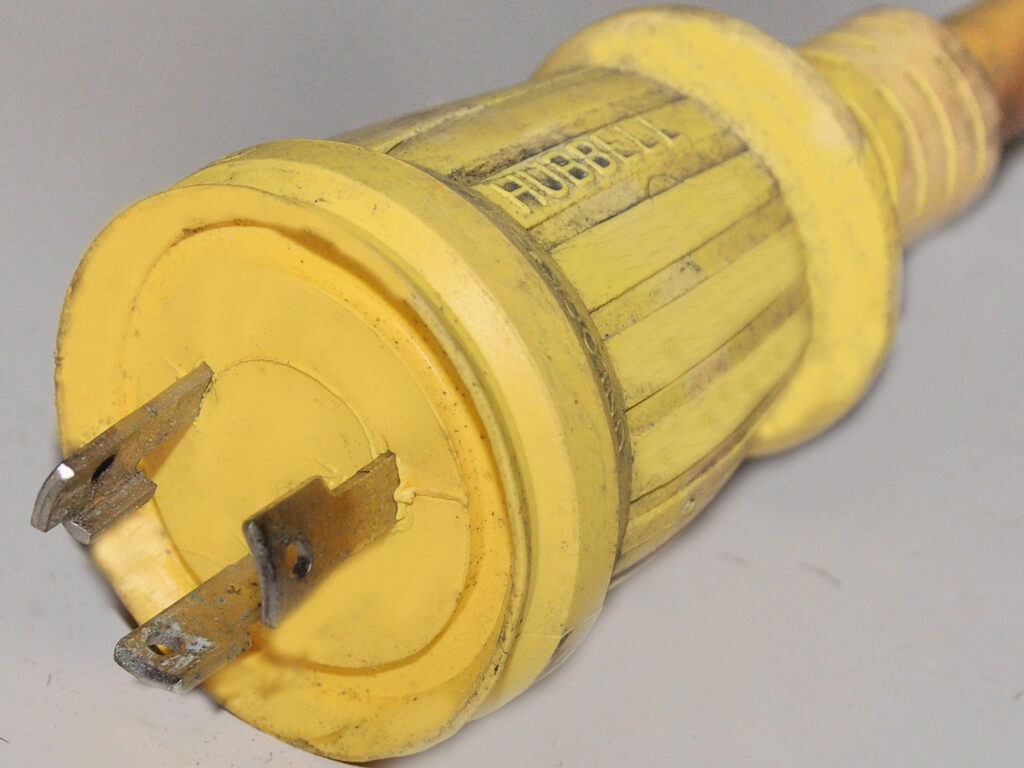
The only way to fit a new plug to these cables is to saw the old one off, then fit a completely new male or female plug in the manner described here. This is not at all difficult and much cheaper than buying a new shore power cable set.
The male and female plugs at each end of the wire use different boots and the spare parts are not interchangeable.
A single 1/4” inch thin flat blade screwdriver is all that is required to do these repairs because the Phillips screws all have one open slot across the head of the screws.
Dismantling A Female Plug
To replace or rebuild a failed female plug, first pull the boot away from the plug and slide it a few inches down the wire—because it need not be removed from the wire unless a new boot is to be fitted. Next, remove the three screws in the end of the plug, and loosen the two on the side of the body—but do not completely remove these two, as they only clamp the cable in place. The white plug part can now be pulled out of the body exposing the wires inside.
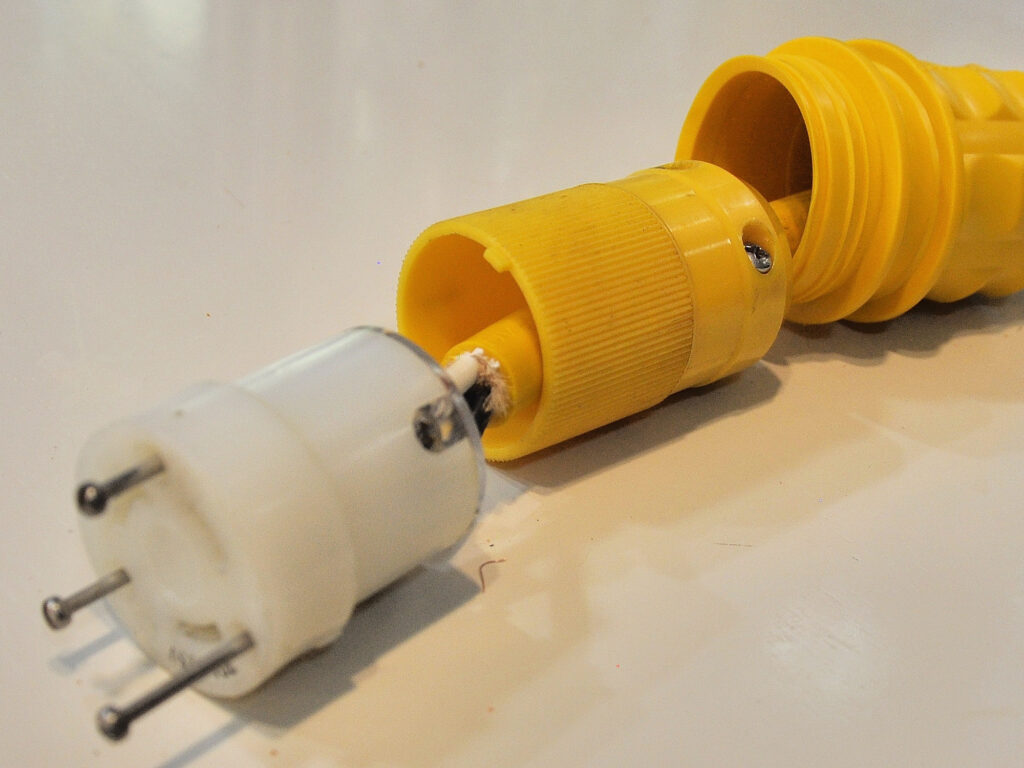
Move the body back down the wire a few inches. (If this is difficult, the two side screws may not have been loosened enough.) It should now be possible to see what has caused the failure of the connection and there may even be signs of burning on a wire.
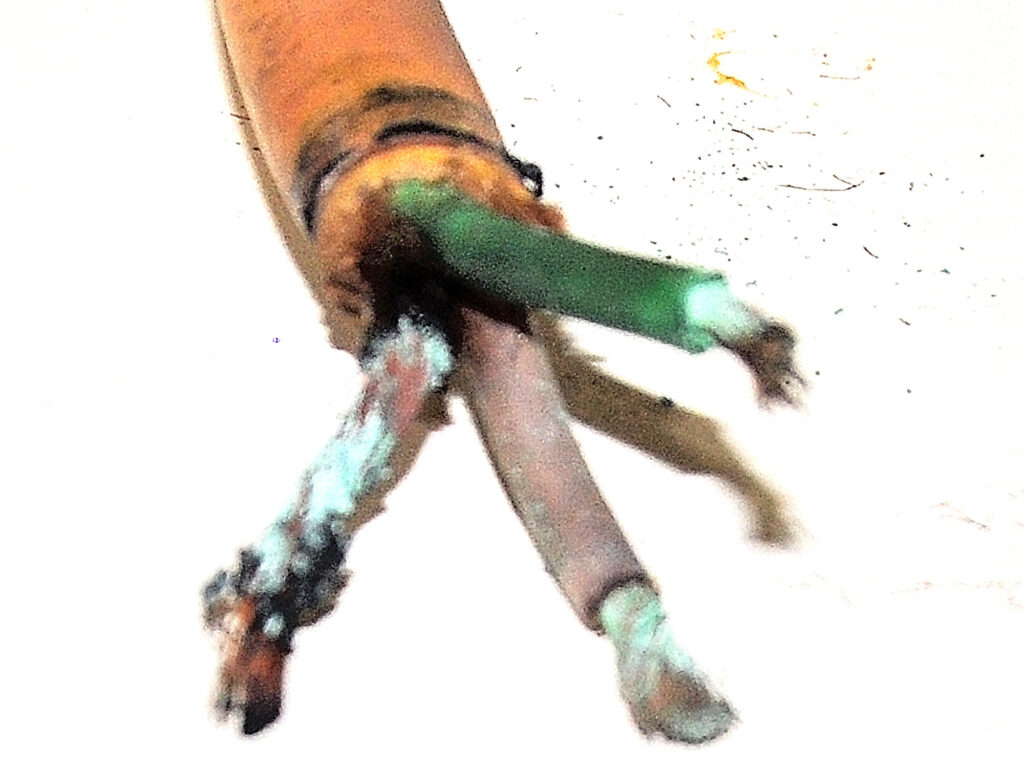
To remove the wires, simply loosen the three side screws and the plug can be pulled clear of the wires. The screws are colored red, green and white to match the wires.
Dismantling A Male Plug
Unscrew the three screws in the front of the male plug, and the boot can then be drawn back down the wire. On the male plug, there is no inner body and the plug screws directly into the boot.
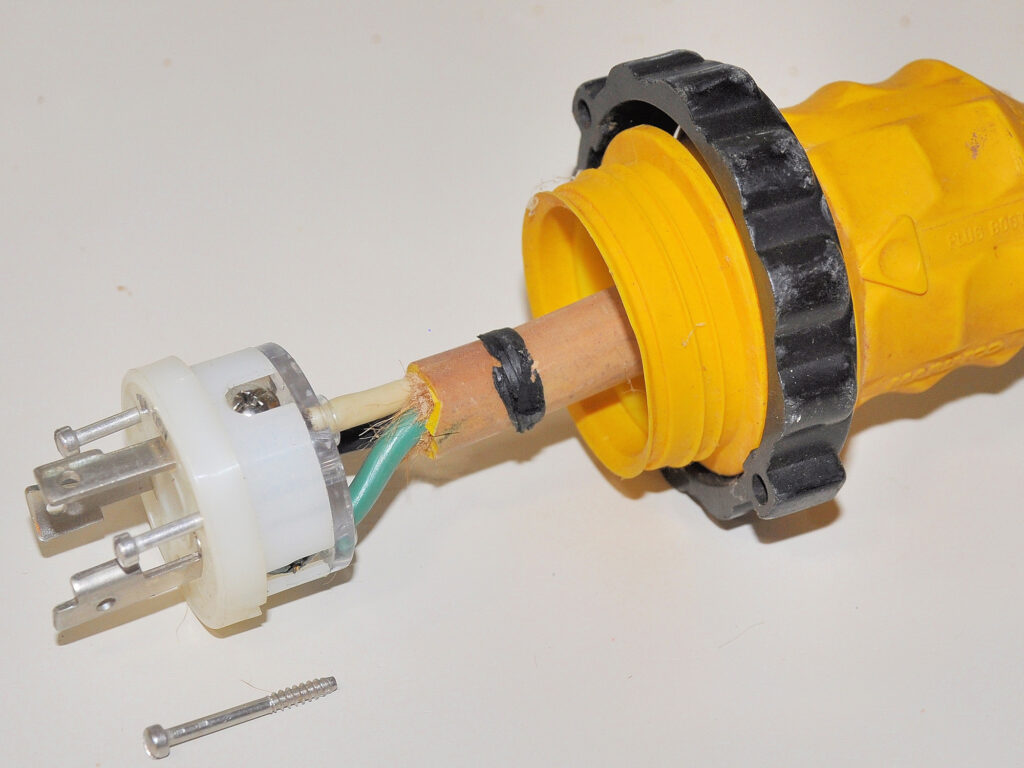
This exposes the three wires attached to the plug that can now be unscrewed from the plug and repairs made in the same way as the female end.
Reassembling Both Plugs
Depending upon what is discovered when the plugs are dismantled, Marinco parts may need to be ordered. If the wire shows any signs of burning or brittleness, the cable should be cut back until the wires are clean. This is usually only about two or three inches and is best done with a hacksaw in a vice.
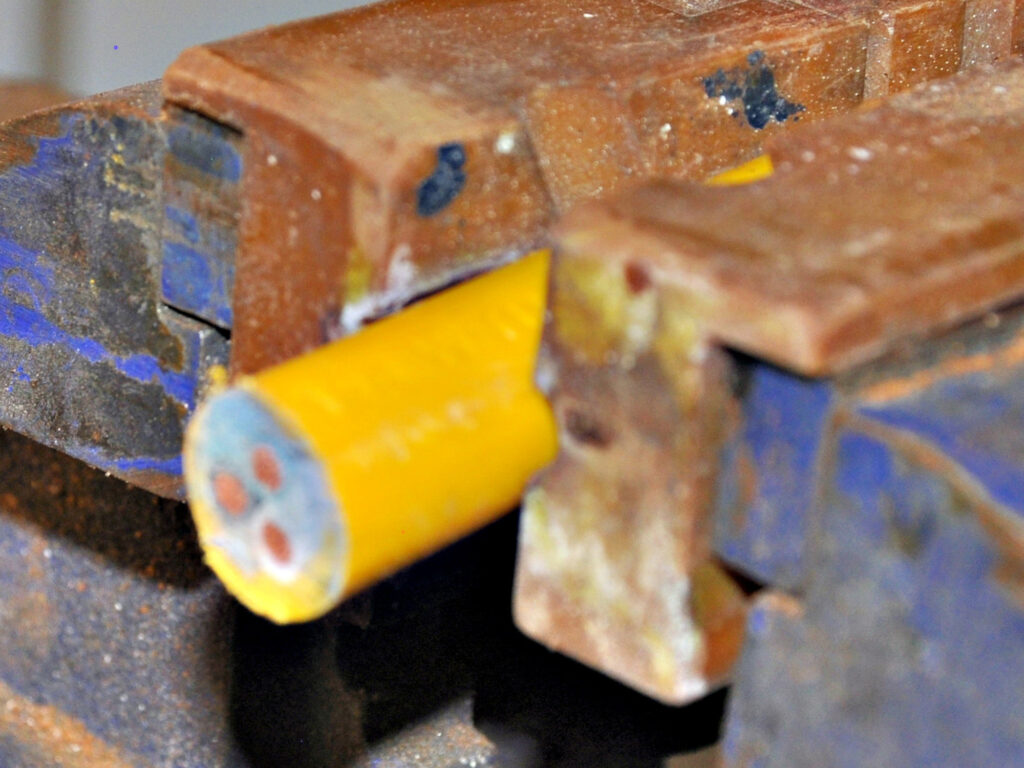
If a new boot is to be fitted, it will be necessary to trim one of the rings off at the end of the boot to be able to slide it onto the 5/8-inch diameter cable. Now, using a box cutter (Stanley knife), a scalpel (X-acto knife), or a similar knife with a new sharp blade, carefully trim the outer cover back 1 5/8-inch and remove it along with its inner strings until only three new wires are left. One method of doing this is to place the cable in the vice and slice into the top half of the outer cover, which is normally quite thin and flexible, but not so deep as to nick the wire insulation. Then, score a straight cut from the circular cut back to the end of the cover, peel it open, and it will then be easier to score around the rest of the cover. Now trim 5/8-inch of the wire insulation to expose the copper conductors and twist them to stop them from fraying.
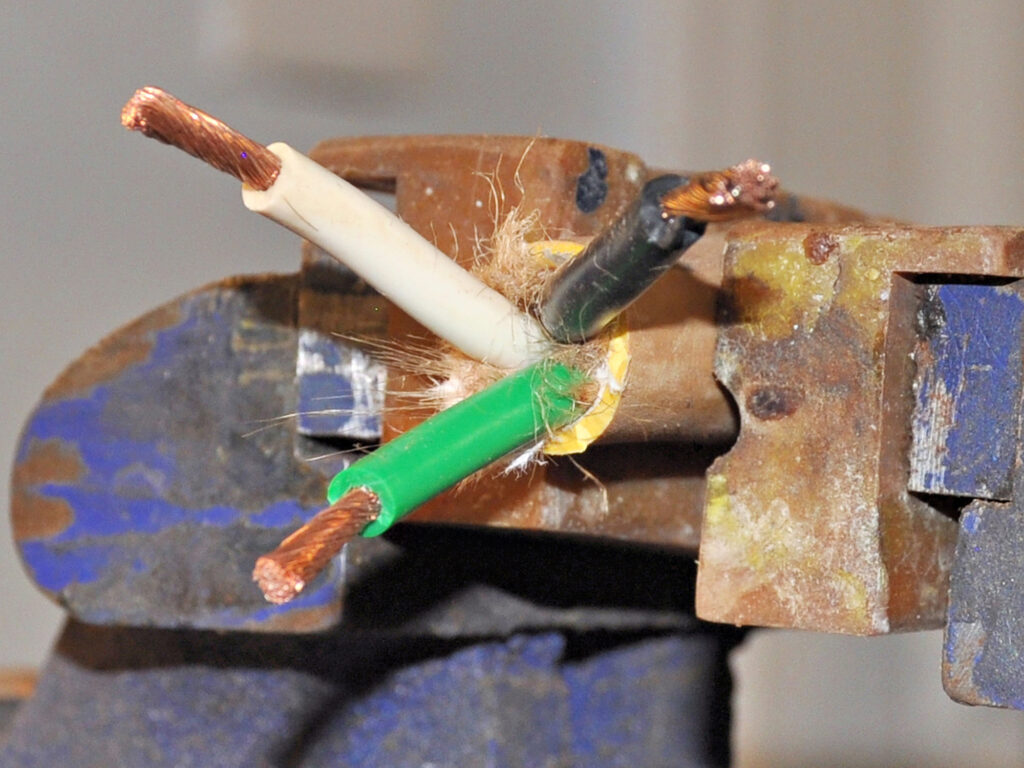
Now push each wire end into its corresponding colored hole in the plug until the insulation fits inside the little raised hole, then tighten the locking screw. It is important to do this correctly: green wire goes into the green hole, white into white and black into black. If done incorrectly the polarity of the plug will be wrong. On the female plug, push the plug end into the body that locates with a small square keyway, and tighten the screws to fasten the plug to the body. Then, tighten the two clamp screws to secure the plug to the cable and pull the boot back over the complete plug.
This completes the installation of both male and female plugs—with a DIY cost saving of approximately 200 percent over the cost of a new shore-power cable set.

