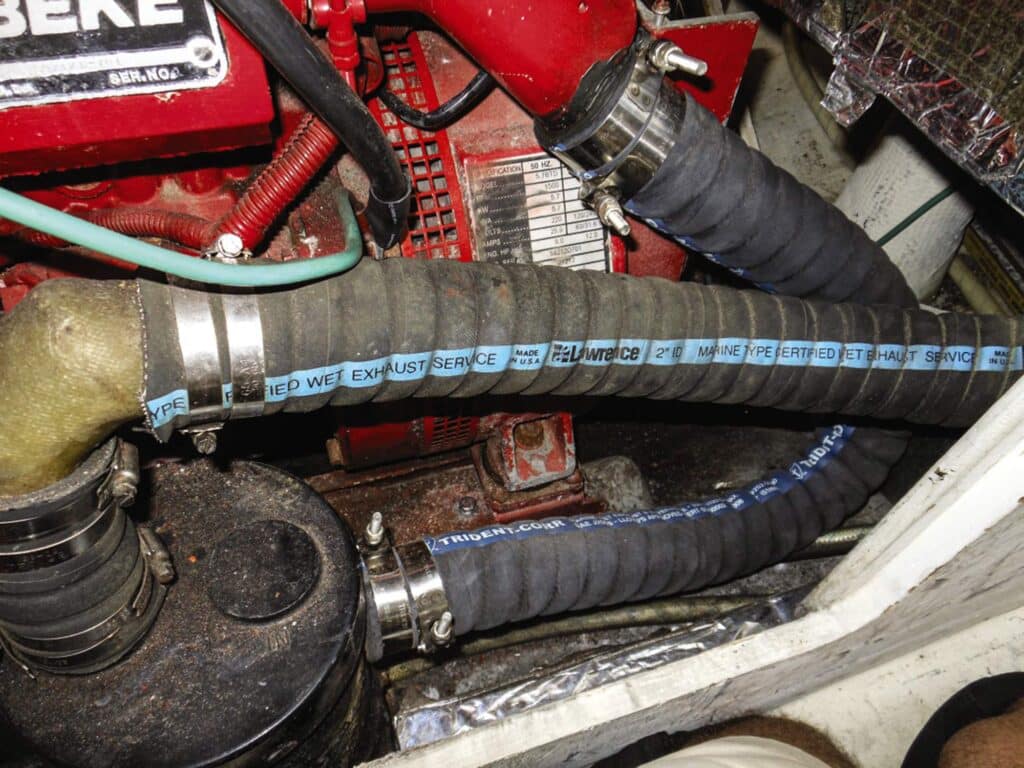
Most propulsion engines (and gensets) on sailboats are located at or below the waterline, making them ripe for seawater flooding, which can occur for one of three reasons. First, the engine is not installed in accordance with the manufacturer’s instructions. This can allow a siphon to develop, fill the exhaust, and then flood the engine’s cylinders. When the engine is idle, a bad installation also can push in water through the exhaust discharge in a following sea, and from there through open exhaust valves and into the cylinders. Second, an anti-siphon valve malfunctions. Or third, the engine is cranked excessively while bleeding the fuel system. With each revolution, the raw-water pump moves a small amount of seawater into the exhaust system, which eventually overflows back into the engine and through an open exhaust valve.
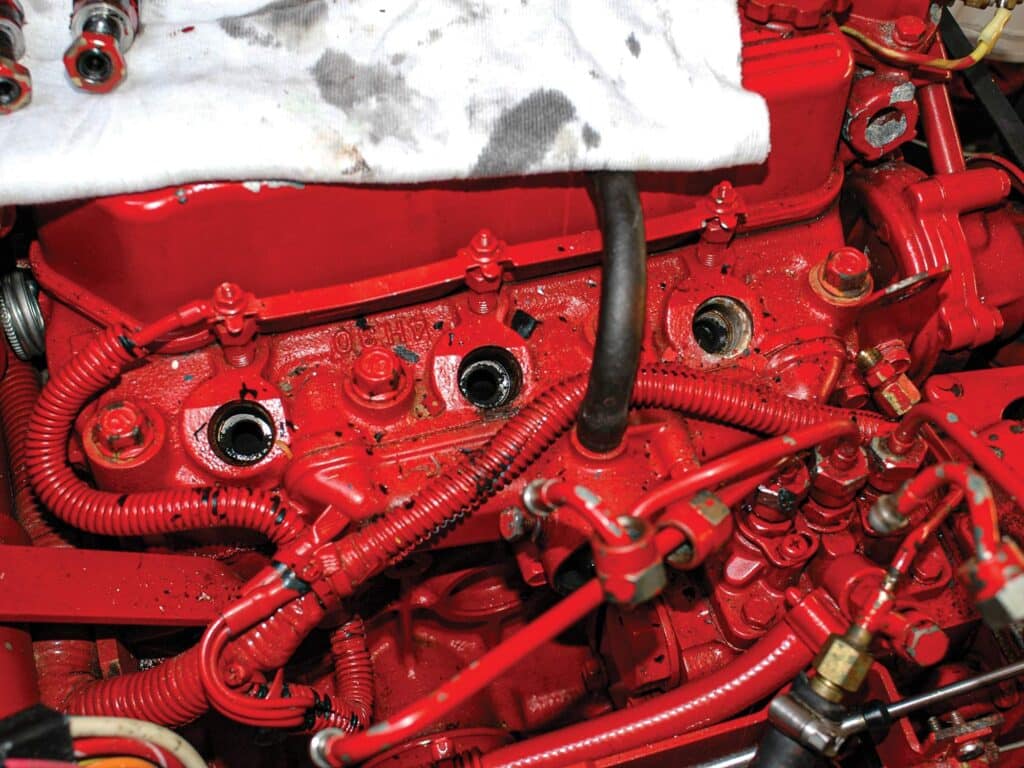
If your engine floods with seawater, do not operate it again until you have identified and remedied the source. For an engine equipped with a turbocharger and aftercooler, the latter might fill with seawater as well. It would also need to be drained of water, flushed and cleaned. If flooding has occurred within the past 24 hours, then follow these steps. First, open or turn off the start battery switch, and second, turn off the fuel supply. Next, put on safety glasses. Remove the injectors or glow plugs, if you have them in your setup, and then cover the exposed holes with rags and remain clear of them. You can then turn over the engine manually, a task often called barring, by engaging a socket wrench with the alternator pulley. You might need to press down on the slack side of the belt to keep it from slipping. Slowly make at least two full revolutions. If you feel any resistance, stop, because a valve might be seized. If the engine turns freely, you can then crank the engine using the starter for five to 10 seconds, then reinstall the injectors or glow plugs.
That brings us to step eight: Drain the oil, and replace it and the filter. Remove the valve-cover oil-fill cap to let water vapor escape more easily. Start the engine and allow it to run for about five minutes. Then, drain and replace the oil and filter again. The oil might be milky in appearance if water leaked past the piston rings and into the crankcase. Once that’s done, start the engine and let it idle with no load for five minutes. After two no-load runs and oil changes, carry out an additional oil change, and run the engine under moderate load, now with the valve-cover cap in place, ideally achieving an oil temperature of 200 degrees Fahrenheit, or as close to that as possible. Last, carry out one final oil change. At this point, the oil should not have a milky appearance. Run the engine normally thereafter, and check the oil frequently for any signs of moisture.
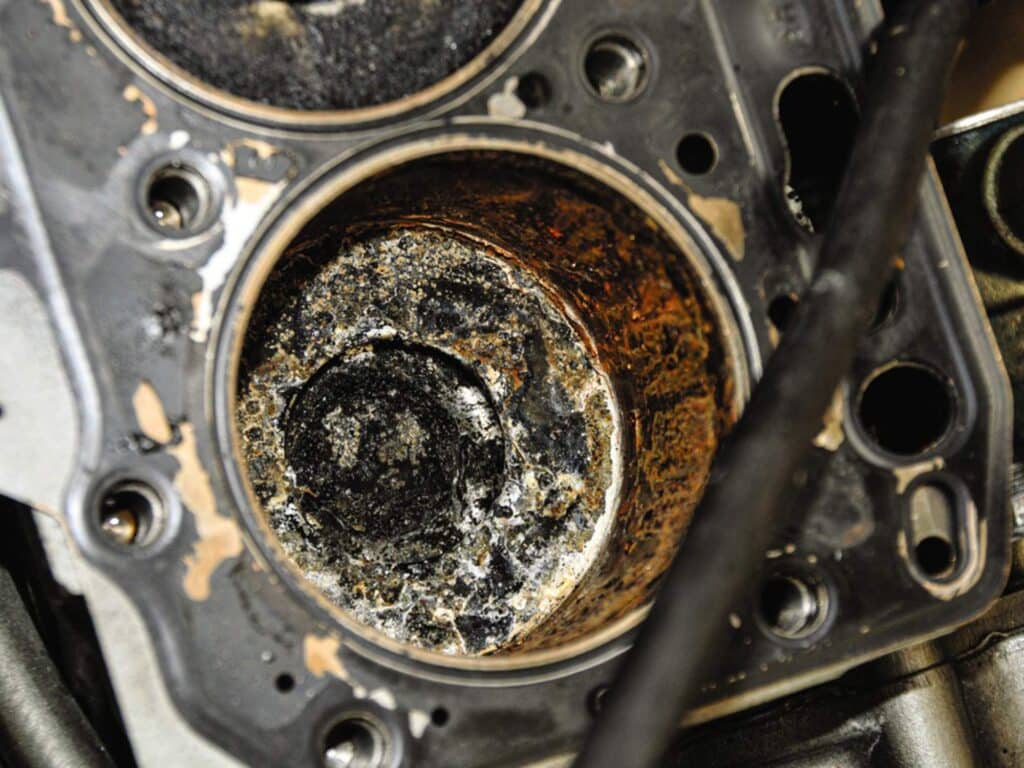
If the engine has been flooded with water for more than 24 hours, corrosion may have already begun to set in within the cylinders. In that case, repeat steps one through four from above. Then, remove the valve cover and inspect for visible damage to the valve train. Next, pour a generous quantity of kerosene, light motor oil or automatic transmission fluid over the valve train. Using a light plastic-head hammer, tap each rocker arm over the valve, and watch to see whether the valves and rocker arms move freely. If any rocker arms or valves seem sticky or don’t move immediately when tapped, there is a possibility of valve, valve train and piston damage if the starter is engaged. At this point, a decision must be made whether to remove the cylinder head. If all valves and rockers move freely, and if the engine turns freely when it’s barred over, then disable the run function by holding the stop button or equivalent to prevent the engine from starting. Turn on the battery switch, and spray fogging oil into the air intake (remove the air filter if it’s present) while cranking the engine with the starter for 30 seconds. After that, you can continue from step eight. If this scenario is caught early, in most cases it can be resolved with no permanent damage.
Steve D’Antonio offers services for boat owners and buyers through Steve D’Antonio Marine Consulting.

