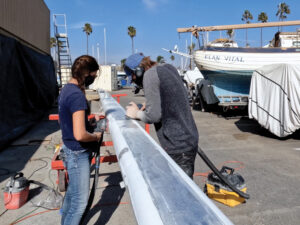
AC and DC electrical systems are an integral part of any cruising vessel. While you might be able to sail without a functioning electrical system, it’s difficult to do much else, including navigate, be seen at night, retrieve an anchor, and communicate.
So it should be a priority to make sure your electrical systems are in good working order. Spring is a good time to check if you want to have fewer problems once the summer boating season is in full swing.
DC Electrical
Begin with house and start batteries, and specifically with overcurrent protection, aka fuses and circuit breakers.
With one exception, every wire connected to a battery’s positive terminal must have a fuse or circuit breaker within 7 inches of wire length, or within as much as 72 inches if the wire is supplementally sheathed or in a conduit.
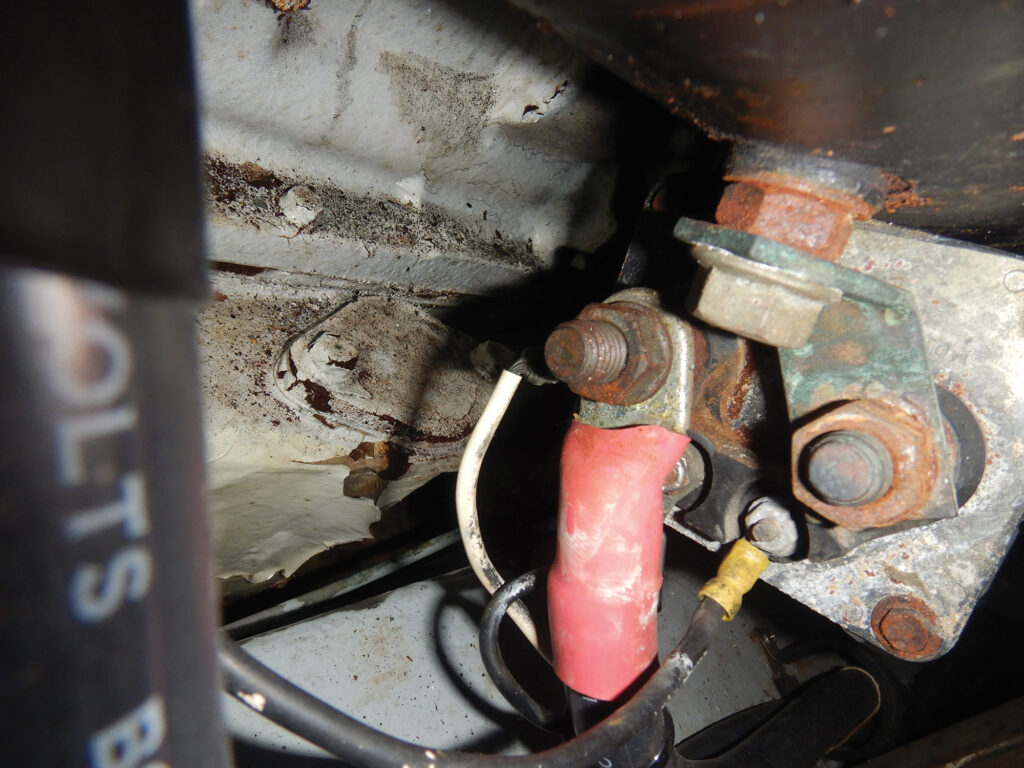
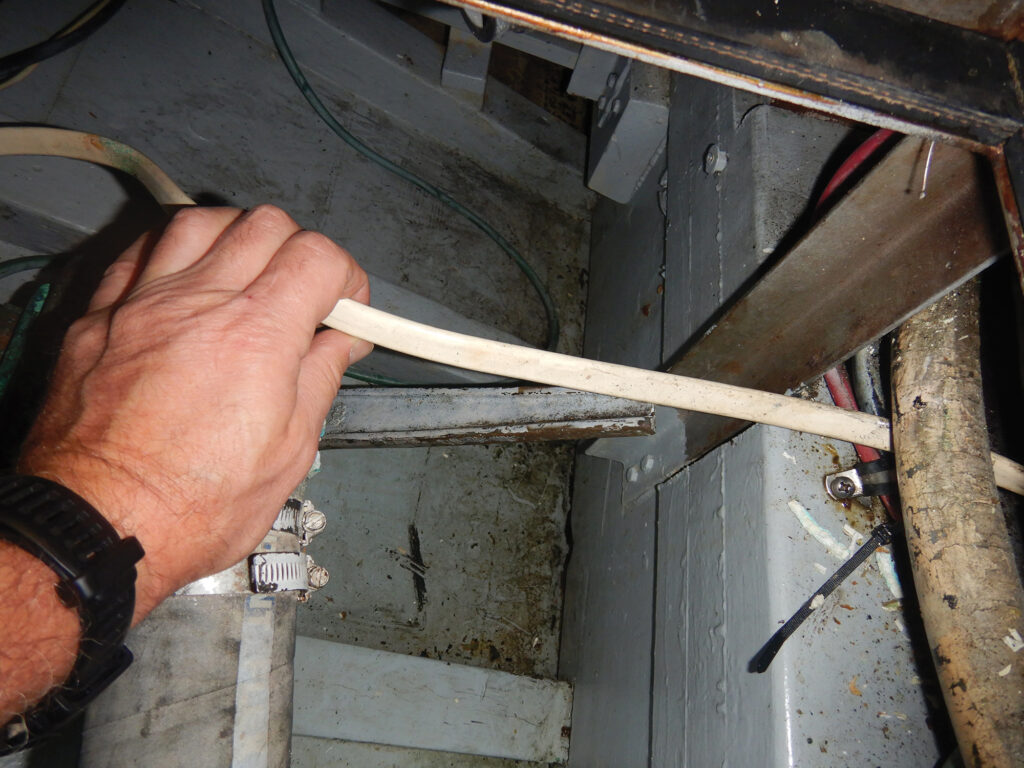
The one exception is the positive cable that provides power to the starter. Because it might not be overcurrent-protected, it is imperative that this wire be protected from damage—and especially from short circuits caused by chafe. Other than this wire’s connection to the starter, it must not touch the engine in any way whatsoever.
Next, check your system’s battery security. While ABYC standards allow for up to 1 inch of movement for an installed battery, my own rule calls for no movement at all. I believe that batteries, especially on bluewater vessels, should be completely immobilized.
The best way to achieve this is with a clamp arrangement, and after that, a ratcheting strap with a stainless-steel buckle. Also check battery terminals, and adapter lugs if you have them, to make sure they are tight. If you can rotate any of these, they are too loose.
Then, turn off all the AC and DC power. If you have an inverter, you must turn off its DC-supply switch or remove its main DC fuse. Confirm that power is not present using a multimeter. Also unplug the shore-power cord from the dock pedestal.
Then, and only then, open the main electrical panel and check the security of every screw terminal (including AC). Tug on wires to make sure all crimps are tight.
I conducted an inspection aboard a vessel a few days ago, and a quarter of the screw terminals and crimps were loose. These kinds of loose crimps and terminals lead to high resistance, and high resistance leads to heat production, which in turn can lead to a fire.
AC Power
With AC power, the primary issue is electrocution, followed by fire. All outlets located in the galley, head and machinery spaces, and on the weather deck, must be GFCI protected.
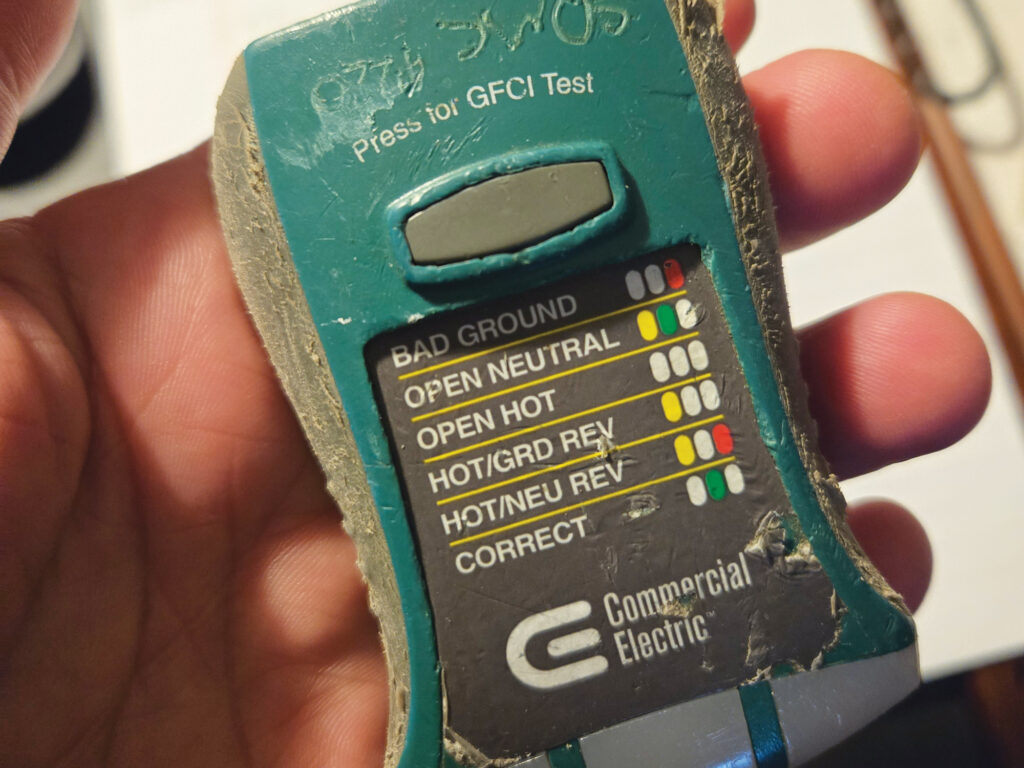
In addition to that self-test feature, these and all outlets should be checked with an external test tool, one that includes a GFCI test button. These tools are available inexpensively at hardware and home-improvement stores.
It is possible for one GFCI outlet to protect several conventional outlets that are located downstream. If you suspect that this is the case, be sure to test all of them. In addition to testing the GFCI function, the tool will also indicate reverse polarity and an open ground, both of which are potentially dangerous, among other faults.
If you have a generator or an inverter, the same testing should be carried out on each one while operating on those power sources.
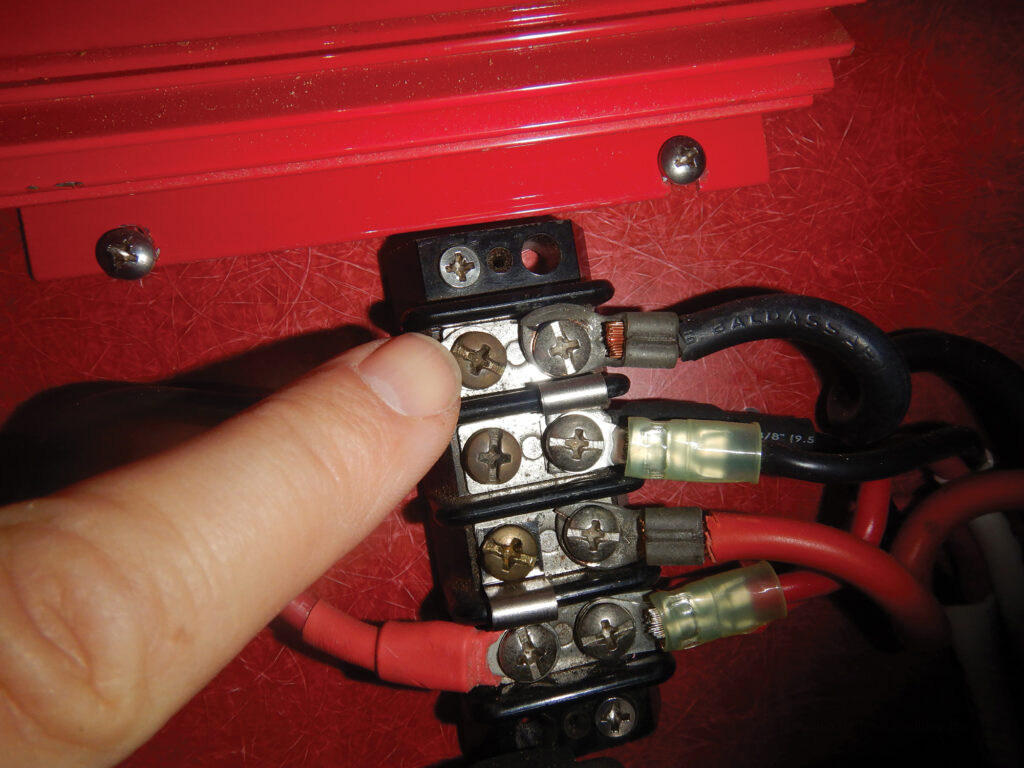
For both AC and DC wiring, one of the most common errors involves the order of ring terminals. The largest must be installed first, with successively smaller ones being stacked on top, to an overall limit of four.
With the shore power off and unplugged from the dock, inspect the inlet and both ends of the cord for signs of overheating, corrosion and discoloration. Ensure that the locking ring is present and usable on legacy-style twist-lock boatside cord ends.
If you are uncomfortable carrying out any of these tasks yourself, call an ABYC-certified marine electrician, which you can find in your area by visiting abycinc.org.
Steve D’Antonio offers services for boat owners and buyers through Steve D’Antonio Marine Consulting .