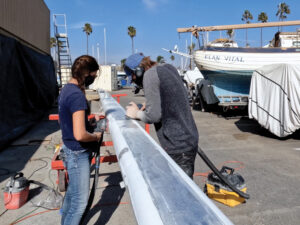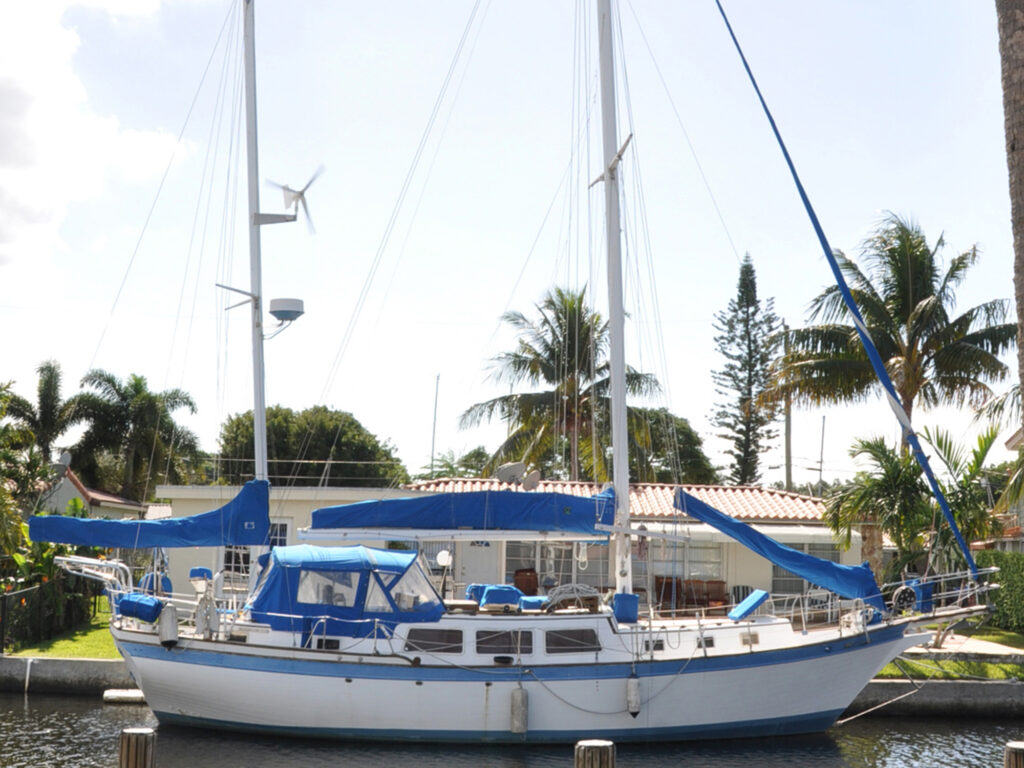
I could see that the Down East 45 ketch I had come to look at had been very neglected, and a surveyor confirmed it.
Among the obvious shortcomings—though by no means the only one—was the wiring, which needed completely overhauling. That’s quite a project to consider on a 45-foot sailboat that was already 35 years old. Along with other issues, the surveyor found, I decided to withdraw from the provisional offer I had made. When the broker asked me why, I sent him a list of faults nearly as long as my arm. A month later, presumably after all his other potential buyers had done the same, he called me and more or less said if I was still interested, I could name my price—which I did—and it was accepted.
I should mention here that I’m not new to boats and have been working on them for more than 50 years (I started young). I knew exactly what I was getting into with this boat, which we later renamed Britannia. My situation allowed me to consider such a project because: (a) The price was well below my original budget, leaving plenty to undertake the job; (b) I had good knowledge and skill in boat repairs and was confident I could turn Britannia into a solid ocean-cruising boat; (c) I enjoy working on boats, especially ones with quality teak like the old Downeaster boats; (d) I was newly retired, had the time, and wasn’t in a hurry; (e) And not least, my wife agreed with the plan.
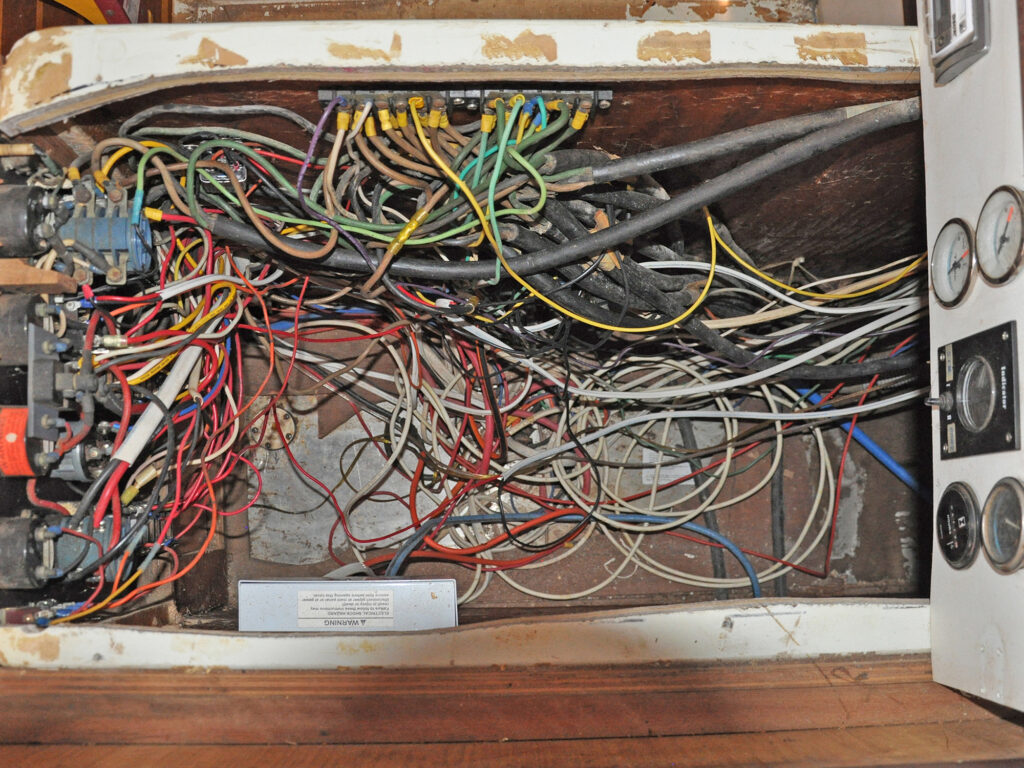
Rewiring wasn’t my first priority—it was installing air conditioning, since we lived in Florida—but eventually, rewiring moved to the top of my list. I discovered nearly all the original wires were brittle, with cracked insulation and exposed bare wire in places. Some wires were welded together from overheating, which explained many items not working. I was also amazed at how many wires led to nothing, simply cut off from equipment that was no longer there. Rewiring an old boat with this hodgepodge of wires can quickly turn into a nightmare if you get them mixed up. At moments like this, my wife always reminds me of the timeless boater’s adage: “If it ain’t broke, it will be when I fix it.” I probably should have that tattooed on my arm to remind me before starting projects like this.
While doing the wiring work, I needed to keep the boat’s electrics running—particularly the air conditioning, which was a priority in central Florida. So, I had to be careful not to cut through or dislodge operational wires. Electrical work on old boats can be taxing because there may be no accurate wiring diagrams, and equipment might have been added without updates to schematics.
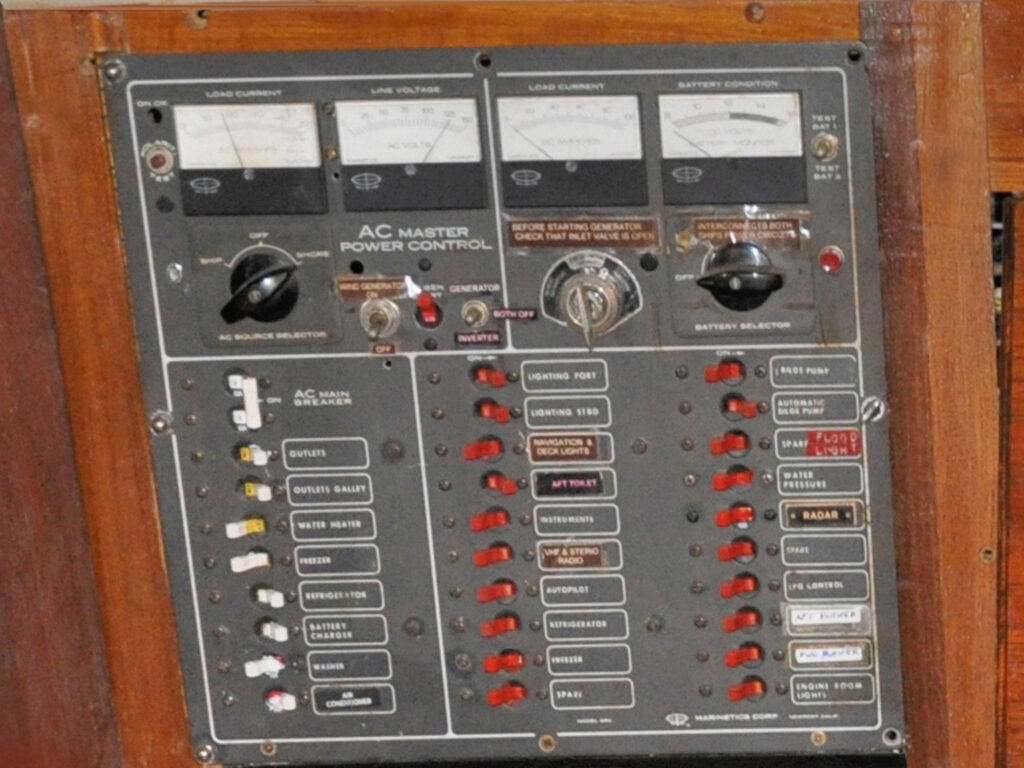
The master distribution panel, containing both AC 120-volt and 12-volt circuit breakers, was mounted at floor level, making it easy to trip a breaker when shuffling into the chart table seat. I decided to move it to a more accessible location, but to access the wires beneath the floor, I had to dismantle the chart table (that’s another story).
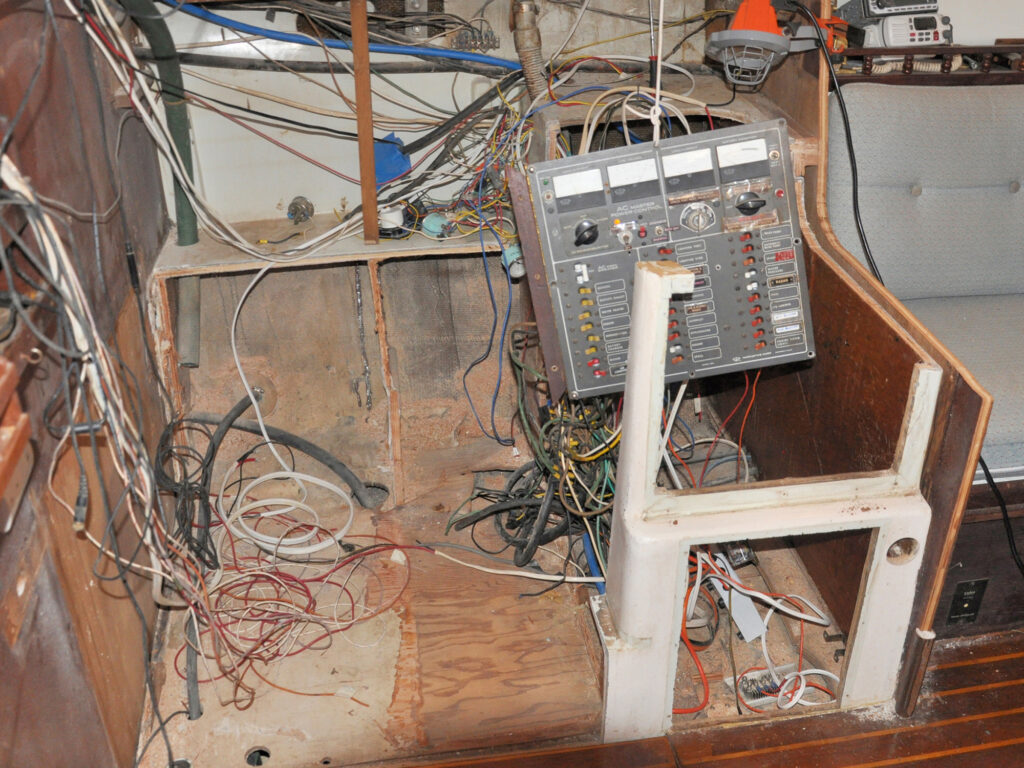
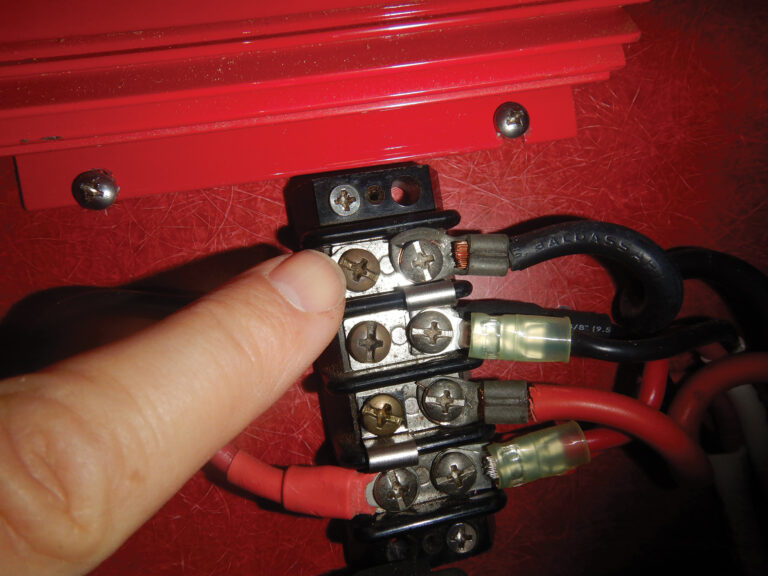
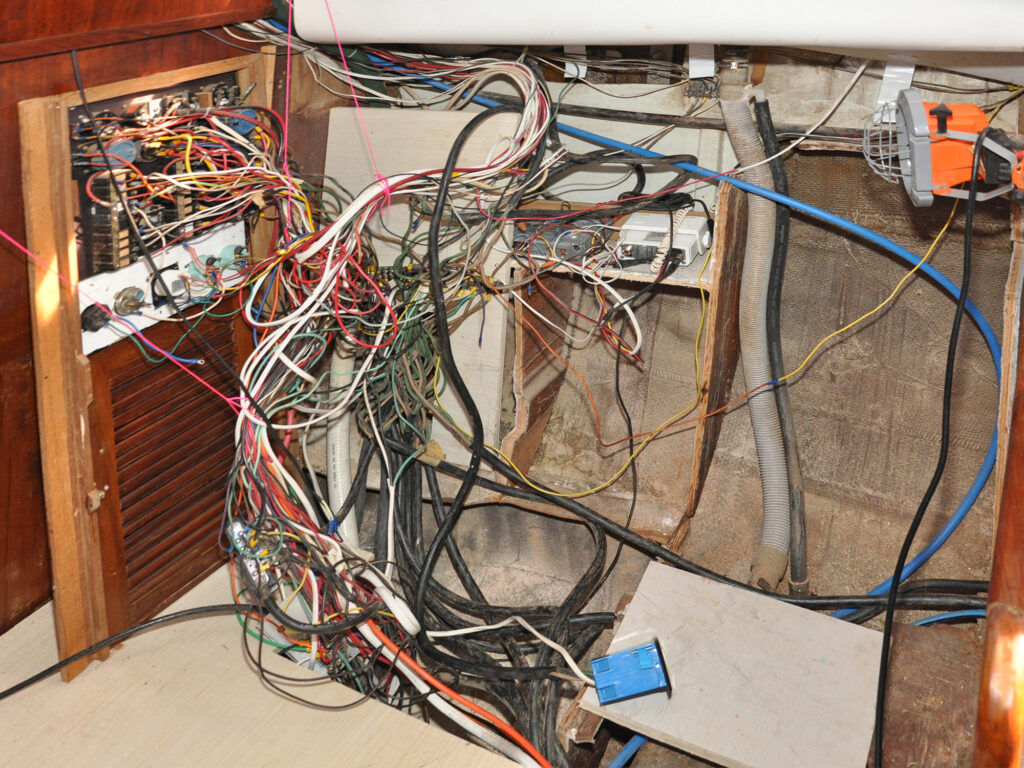
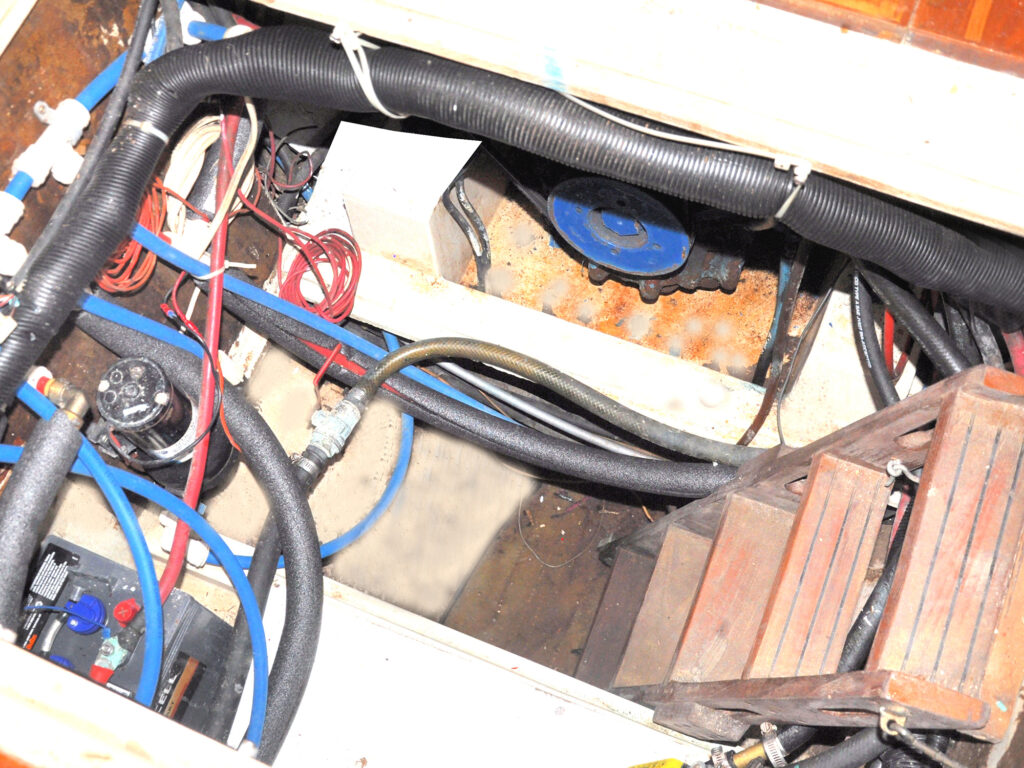
With the floor removed, I found a mess of loose wires leading to and from the panel. It was a spaghetti maze of wires, buzz bars, connectors, and relays. Some wires had been cut off and just left dangling. Wires led to devices all over the boat and to the engine instruments. I supported the panel from a ceiling beam so that I could turn it to work on the front and back.
There are different ways to rewire an old boat. You can buy individual lengths of wire, or you can convert to an NMEA (National Marine Electronics Association) networking system that interconnects nearly everything and can be read on a multifunction display screen, including engine readings. You can even convert to Wi-Fi wireless and have minimal wires at all, but this is expensive with relays and signal senders fitted to every device. These options were out of my budget, so I opted to use regular wire. Instead of buying individual lengths, I bought a 20-foot length of multi-conductor cable containing 20 wires of 14 AWG (American wire gauge).
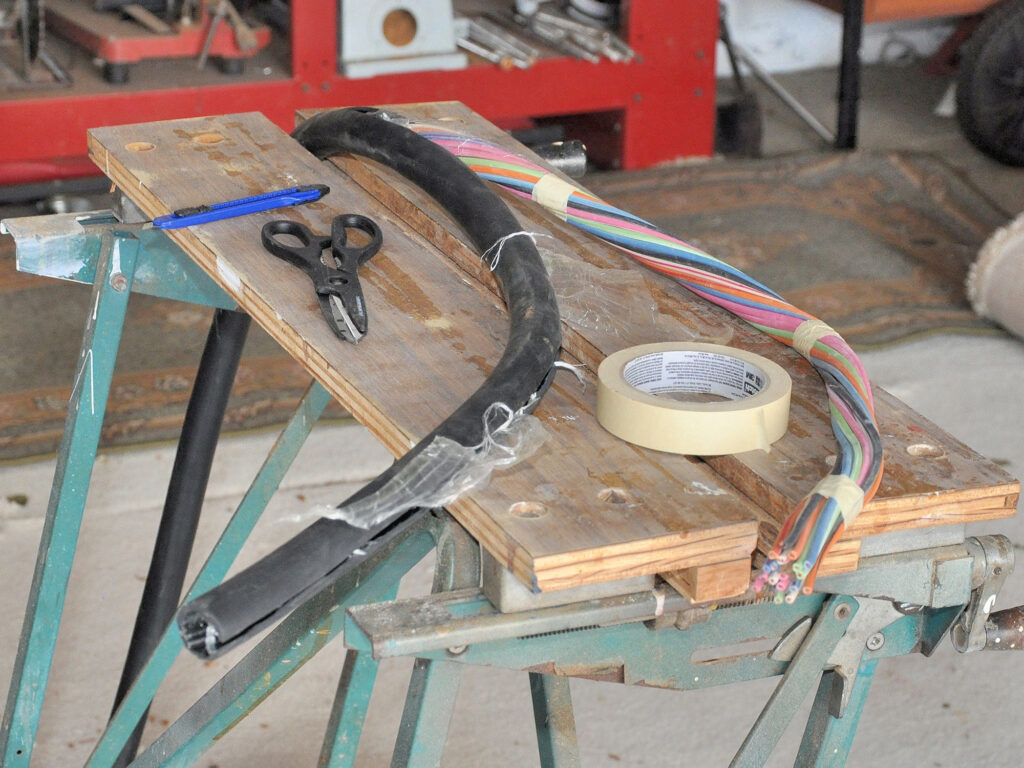
These wires are cheaper and color-coded. However, a problem with multi-conductor wire is it can overheat even with just 12 volts. I stripped the outer rubber casing, unwound the wires as needed, and used individual wires, which are less prone to overheating and easier to pull through holes and curves.
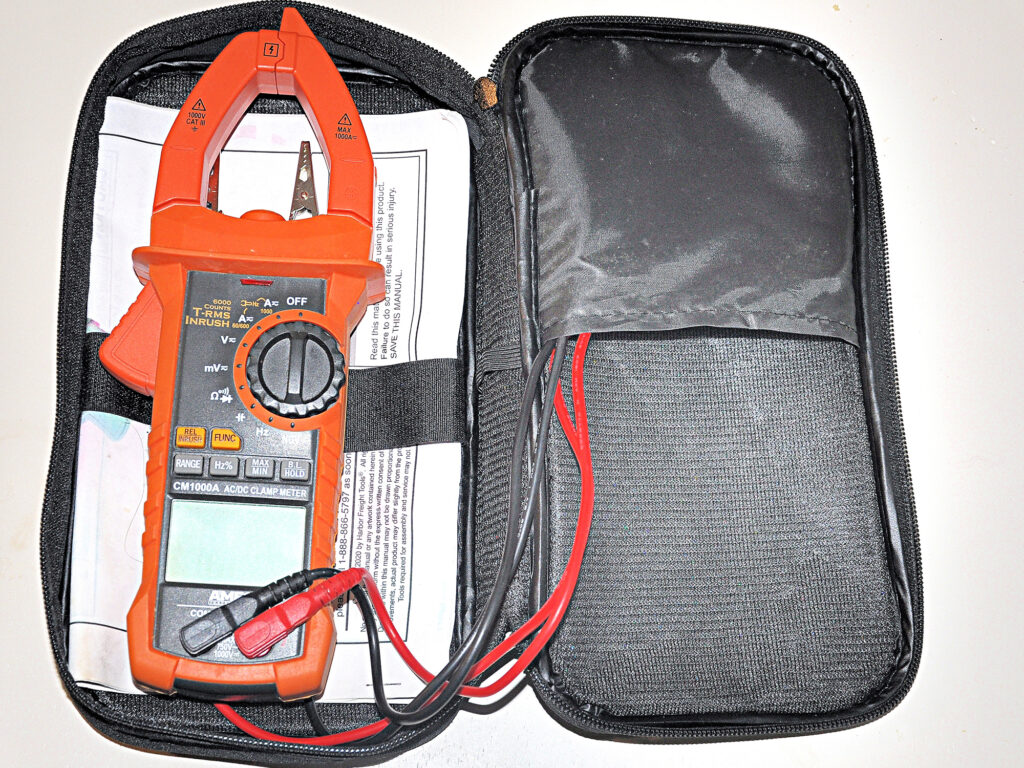
This massive project requires surprisingly few tools, the most important being a good-quality electrical multimeter that can measure voltage, amperage, continuity, and resistance. I bought one specifically for this job: an Ames Instruments digital clamp meter, type 1000A AC/DC.
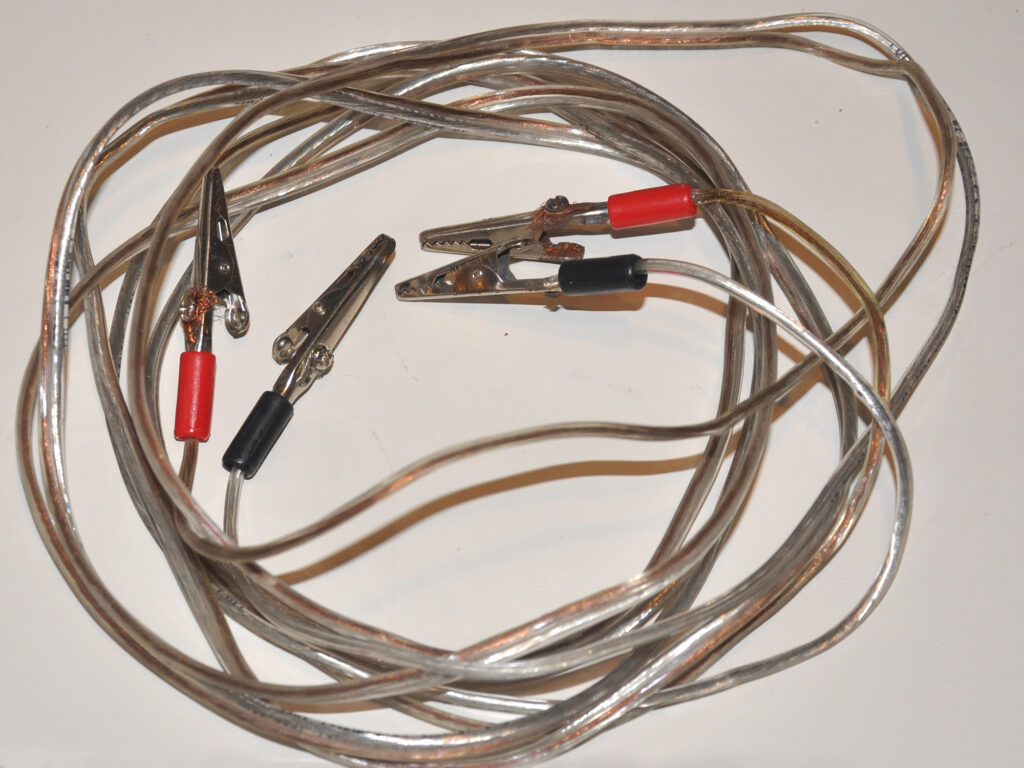
Another item I made from spare wire was a long length of twin flexible wire with crocodile clips on both ends, used to extend the multimeter probe cables to test for continuity in wires from the circuit board to the instrument it’s (supposed) to be connected to. I made a test wire using crocodile clips on each end.
I first disconnected the AC and DC power to the panel, and for lighting and power, I used an extension cord directly from the marina dock. As I replaced each wire, I switched the power back on to check if the equipment still worked. It was a slow, tedious, and sometimes strenuous process—reaching behind panels, pulling out old wires, and rerouting new ones. I also used a lot of crimp connectors.
Next, I made a teak framework under the deck curve and used an old louvered door to access the wires leading to the panel. I added a piece of teak plywood below the panel to mount the generator and water tank gauges, which had been installed all over the place.
The original engine instrument cluster was mounted low in the cockpit, where it was difficult to read when sitting at the wheel and could easily short out if the cockpit flooded with just 6 inches of water. I moved the cluster halfway up the steering pedestal, in front of the wheel, where it was easier to see. I then made a solid teak instrument pod to hold a Raymarine multi-function display, along with autopilot and wind instruments—new installations. I also mounted deck switches (nav lights, spreaders, windlass, and engine starter/stop buttons) on the pod.
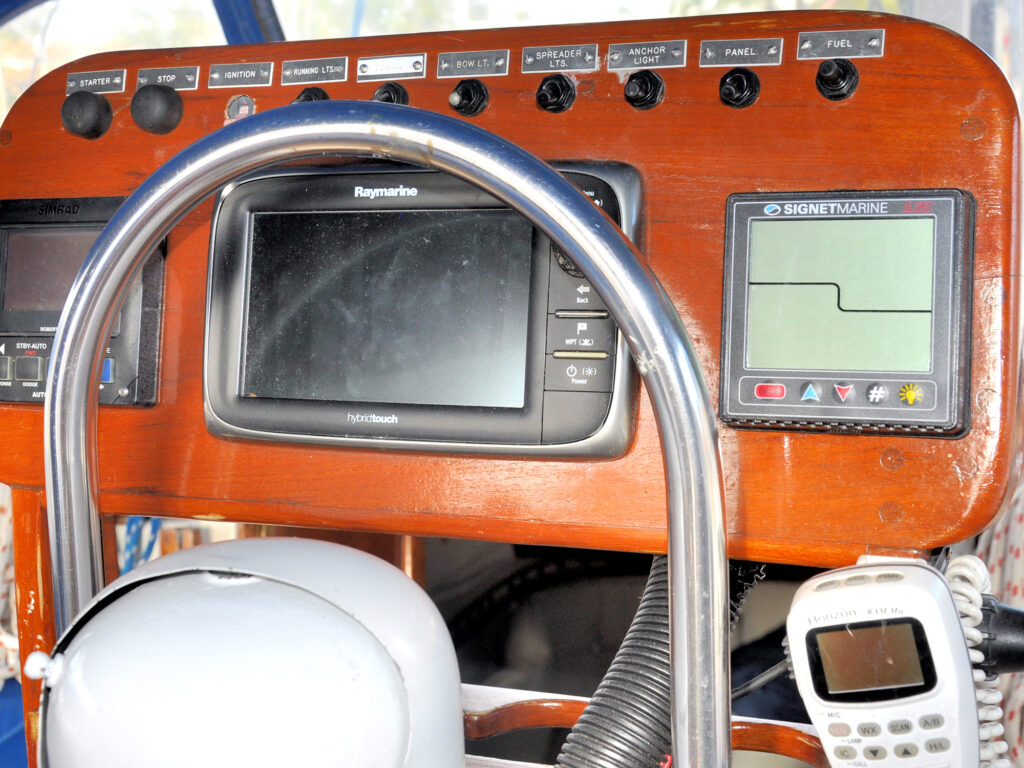
I drilled a hole in the cockpit sole and routed all the wires down the side of the pedestal using split wire casing. Split-wire plastic casing is a neat way to group multiple wires together while keeping each wire separate inside the casing. It allows you to withdraw wires as needed to connect them to individual devices. New wires can also be added to keep the installation tidy. The casings are typically suspended from cable ties, and feeding a new wire through can be tricky. But if you fit a thin draw-cord (whipping twine works well) when the casing is first installed, it’s easy to pull new wires through—and don’t forget to pull through another draw-cord for the next wire. These casings come in many sizes and colors, making the installation both functional and attractive.
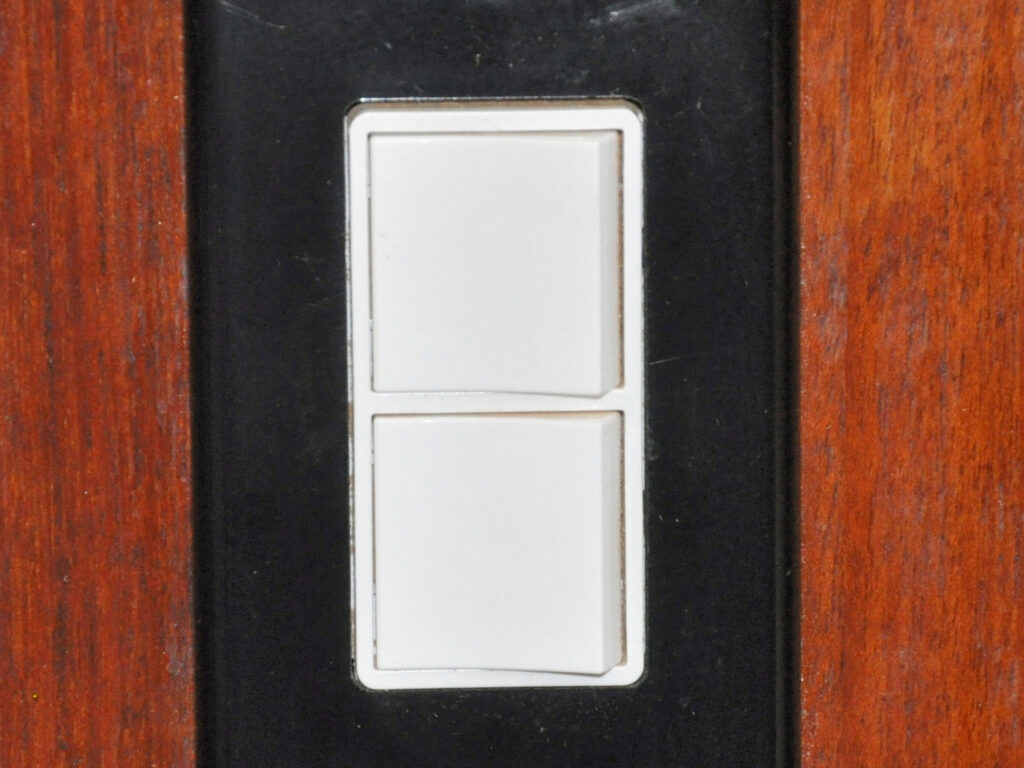
While replacing the wires for overhead lights in the cabins, I ran branch wires to new 12-volt and 120-volt LCD lights. I also installed double-pole switches that allowed both types of lights to be controlled from a wall switch and wired them in parallel so the individual switch on the light would also work.
The thick, heavy 120-volt cables from the two ship-to-shore power plugs were thankfully long enough to reach the repositioned panel and only needed sorting from the tangle in which they had been installed. It took four weeks to completely rewire the panel and transfer it to the framework I had built next to where the new chart table would fit. Eventually, all new wires were connected—though even years later, I still find one I missed that doesn’t go anywhere.
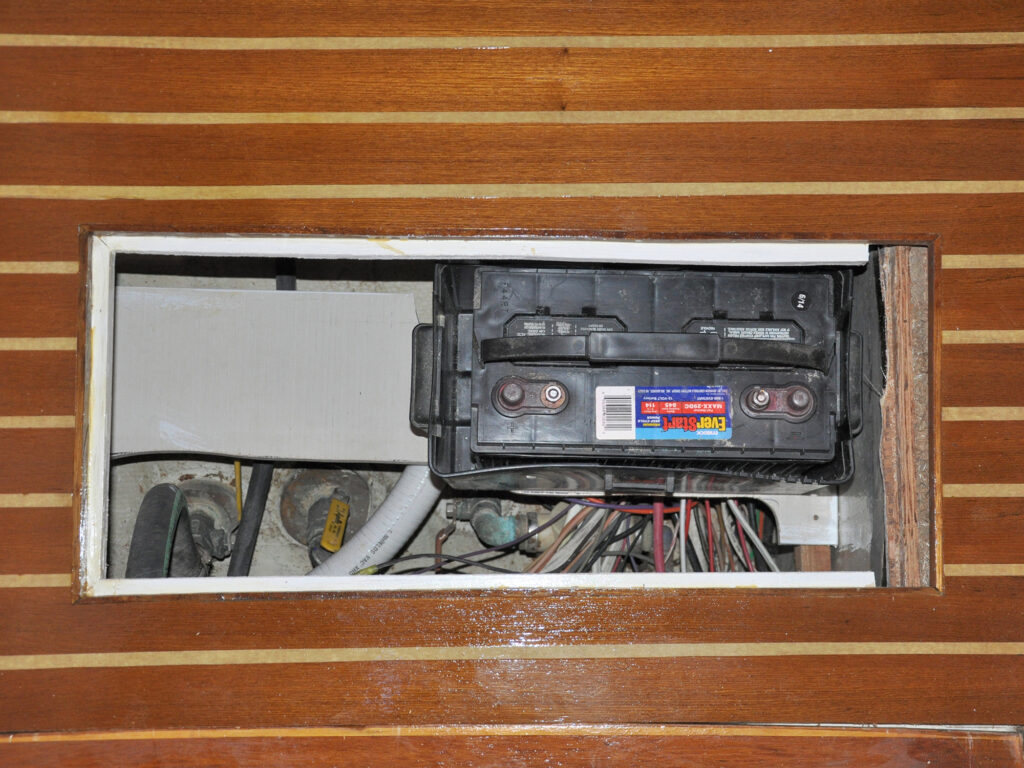
A dedicated engine start battery that had sat under the original chart table seat needed relocating. I built a shelf under the new floor and fastened a battery box to it. Now, it’s easily accessed through a hatch in the new floor.
I was amazed that everything continued to work as before, and for once, I proved the old adage wrong. I didn’t need the tattoo—just the reminder to work carefully and methodically.