The Pacific Ocean has about 30,000 islands spread across it. That seems like a lot, but given the Pacific’s 63.8 million square miles of ocean area, these islands are few and far between. About 4,000 years ago, humans in Eastern Asia set sail in canoes and found so many of these islands that today we attribute their success to navigators who read subtle signs, such as wave patterns and bird behavior.
I think it was a party trick. Waves and birds? Pfft.
With a second Pacific Ocean crossing in my wake aboard our Stevens 47, Totem, I’ve concluded that ancient humans’ success at discovering islands was possible only because of sailmakers making sail repairs.
Think about how often the tough, synthetic sails on modern cruising boats need care and maintenance. The pandanus fiber sails of those ancient voyagers must have been a disaster. Back then, a blown-out sail meant stopping dead in the water. Clearly, the drivers of success were the heroic sailmakers working tirelessly through fierce storms and under the blazing sun, repairing sails to keep moving onward to the next island discovery.
Maybe I’m a biased sailmaker who appreciates the value we get from working sails. This point is most evident to me when a sailor in a remote place with broken sails reaches out for help. Ironically, cruising sailors often know more about diesel engines, watermakers, solar chargers and outboards. Boats are complex machines, but sails are key.
To me, the primary ingredients of DIY sail repair are simple enough: sailcloth, thread, webbing and attachment hardware. Their purpose is to resist being pulled apart in the tug-of-war between wind and rigging. When a portion of sail is pulled apart—as in torn sailcloth, broken luff slides or clew straps ripped off—a good repair will reestablish material strength.
Making Sail Repairs in the Field
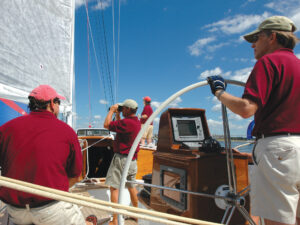
Field repairs don’t need to be pretty; they need to be reliable enough. A sewing machine is a primary sailmaking tool but is not necessary for most field repairs. Often, the challenge in doing field repairs is the awkward area for hand-sewing or bonding pieces together on the side deck, in the cockpit, on a dock or parking lot, or—trickier still—when the sail is still up.
Preparing the sail and space for the work needed will make it easier. A good example of this happened a few years back when the owners of a catamaran sailing off the coast of Tanzania asked for help. Their Dacron genoa was rotten from ultraviolet damage. They expected to replace it when they got to sailmakers in South Africa, but the passage was a sporty 1,600 nautical miles down the Mozambique Channel, and they realized that the sail wouldn’t make it.
I assessed the sail from afar and then conveyed a plan to make patches that would reinforce large areas. Materials with fiber reinforcement such as a plastic tarp would add necessary strength when oriented across the tearing sailcloth.
To join the new material and bad sailcloth, they needed reasonably strong adhesive. Some marine-grade polysulfide sealants work well; so might spray glue, contact cement or superglue. If you have something on board but are uncertain about the bond strength, a small test run can show how strong it is when cured.
The crew acquired an old Optimist dinghy sail from another cruiser for the patch. With tubes of marine sealant they had on board, they glued wide strips from the dinghy sail across the worst areas of rotten sailcloth. The genoa wasn’t pretty, but it was enough. A few weeks later, the crew sailed safely into port in South Africa, headsail repair intact.
Another tough lesson happened last year with a cruiser we’d met while preparing to sail from Mexico to the Pacific. He reached out with a passage tale about an unexpected squall and an unplanned jibe that had resulted in a number of broken mainsail luff slides. He hadn’t thought to bring spare luff slides, so he needed a work-around.
Hand-sewing on luff slides is an easy DIY repair, but unfortunately, there weren’t enough good slides to work. The sailor had to go without a mainsail for the last few passages of the season. He learned a lot about advance planning for a sail-repair kit.
Yet another incident happened about a third of the way between Fiji and Japan, when solo sailor Raffi Patatian noticed a tear in the in-mast furling mainsail of his Hallberg-Rassy 43, Wind River. As Raffi’s weather router, I was aware of his situational context: thousands of miles from anything resembling a sail loft, and 25-knot winds pushing up 8- to 10-foot waves. The tear ran vertically up from the foot, just forward of the clew reinforcement patch. It was only 5 inches long, but the location bears high loads that would tear apart the sail unless he repaired it.
The passage was a sporty 1,600 nautical miles down the Mozambique Channel, and they realized that the sail wouldn’t make it.
What is a high-load tear? By deflecting wind, a sail gains force—or load—across its entire surface. That force becomes directional as it pulls against the corner attachment points, head, tack and clew; to a lesser degree, it also pulls luff attachments. Load paths form between any two corners. In Raffi’s mainsail, the vertical tear was being pulled apart by the horizontal load between the clew and tack. This is a high-load tear, which requires a stronger patch than a low-load tear.
When the tear and the load are parallel (a low-load tear), there isn’t force pulling at the tear, so it’s an easy fix. Clean and dry the damaged area, and slap some sail-repair tape (or even duct tape) over the tear on both sides of the sail. That’s an adequate, temporary repair.
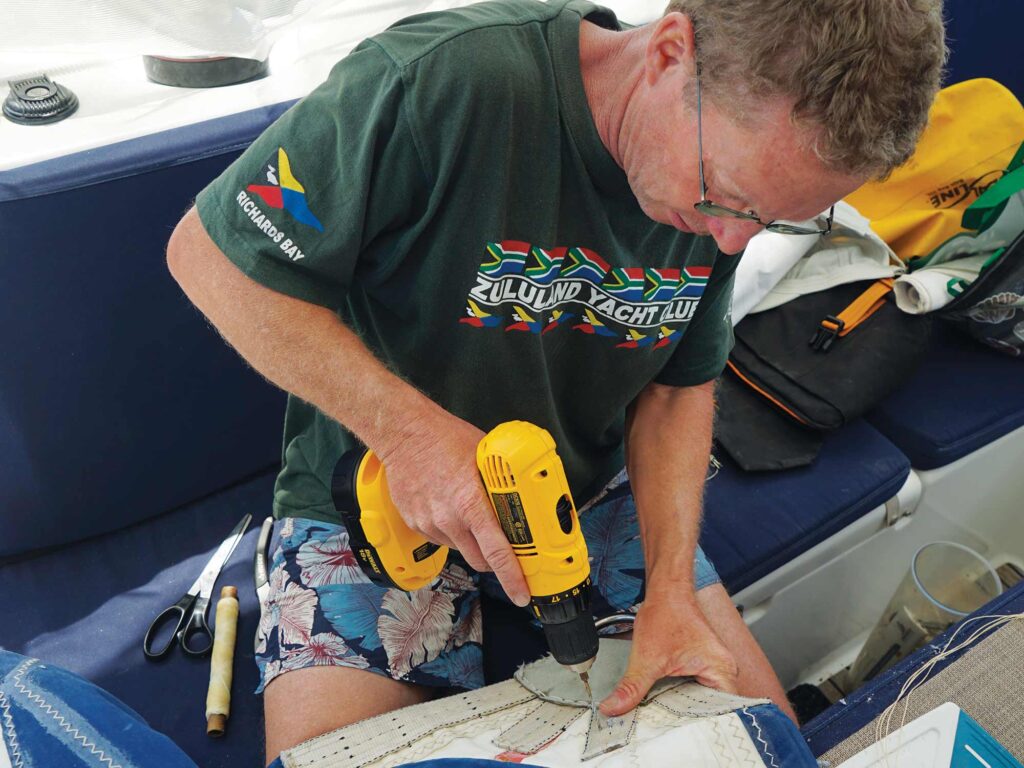
Taking this approach on a high-load tear, however, would quickly fail. Raffi had a nicely stocked sail-repair kit, including a sewing machine. Unfortunately, the machine stayed in a locker because the boat’s motion made using the machine impossible. Instead, hand-sewing and 3M 4200 Fast Cure (a polysulfide sealant) would do the job. Rather than taking down the sail to repair it, furling the sail most of the way and stabilizing the boom would be easier and faster because of the tear location.
The first task was to hand-sew heavy webbing along the foot, spanning the tear. Before leaving the cockpit, Raffi cut the webbing about 18 inches long and used a marker to make dots in a zigzag pattern as a sewing guide. He then prepared the hand-sewing needle with a long length of four-strand waxed thread.
Tethered to the dodger, he sewed half of the webbing to the foot, forward of the tear. Then he pulled the torn sailcloth sides together, held webbing in place across the tear, and secured them with a clamp. No sailmaker would rate this sewing as pretty, but it was strong.
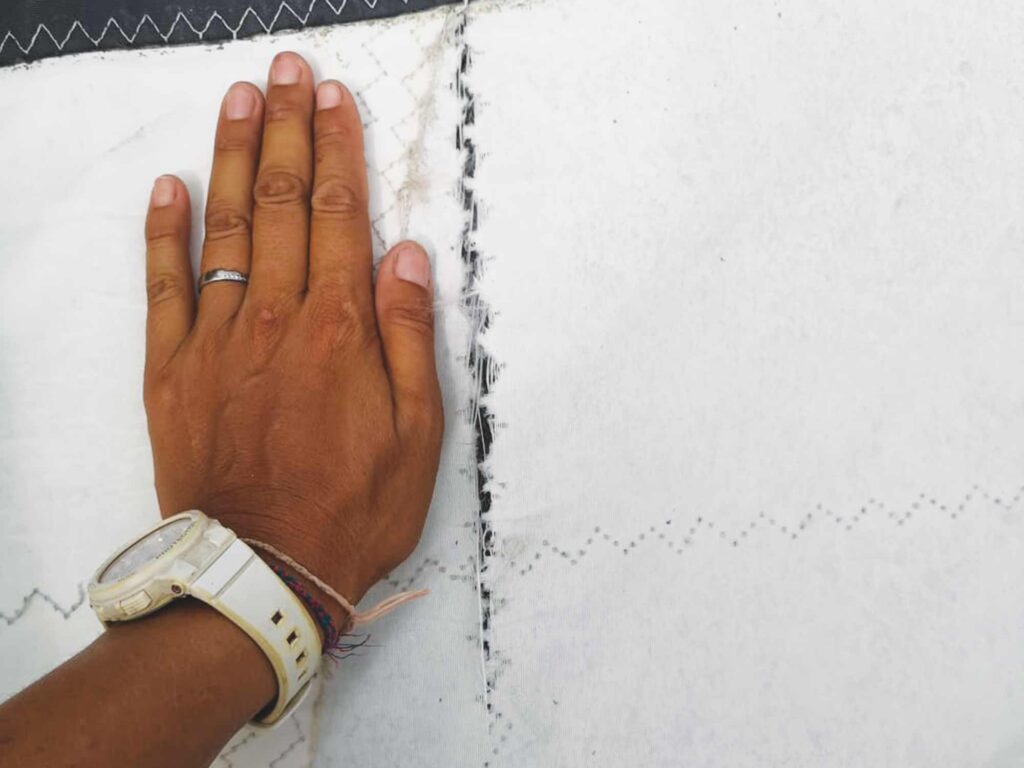
To finish the repair, we wanted to add a Dacron patch over the torn portion so that it would be joined by more than webbing. Hand-sewing the patch was an option, but bonding the patch in place would be faster and stronger. The key to a bonded repair on a high-load tear is surface area. The patch needs to be four or five times wider than a sewn seam would be on each side of the tear (and wider still on sails with higher loads, such as roachy catamaran mainsails).
Raffi had spare sailcloth to work with. First, he oriented the strongest yarns to the load path across the tear, and then marked and cut out the patch. With the repair area cleaned and dried, he spread the 4200 Fast Cure all over one side of the patch. Then the patch was placed across the tear and firmly pressed to the sail. The last step was sail-repair tape (or duct tape) around the perimeter to ensure that it stayed in place until it cured.
Raffi made it safely to Okinawa, Japan. The patch held, but near the end of the passage, more tears near the patch formed. The sail should be replaced, like the genoa on the boat off Tanzania. Or should it?
Make the materials strong again with more DIY repairs. When the Tanzania boat got to South Africa, the crew bought a new genoa but didn’t bend it on. That mangy sail repair crossed the Atlantic and lived to see the Caribbean, believe it or not.
As those ancient voyagers learned, your sails will get you there—if you can keep them together. Just watch for changes in the waves and seabirds to reveal when you’re almost there.