Sailboats have a way of making you resourceful. Every piece of equipment onboard has to earn its keep—especially the gear you use daily. So, when it came time to replace our sail cover, we decided to go all in and build something to make our sailing life easier: a DIY stack pack.
A stack pack, also known as a lazy bag, combines a sail cover with lazy jacks for hassle-free sail handling. Instead of wrestling a floppy sail into submission, the main drops straight into the bag as it’s flaked. Zip it up, and you’re done. No sail ties, no awkward deck yoga—just smooth, simple efficiency.
After admiring stack packs on other boats, we decided it was time for Avocet to get the upgrade. Pre-made options are expensive and don’t always fit perfectly, so we opted to build our own. It took planning, patience, and a few cups of coffee, but the end result was worth every stitch. Here’s how we did it, what we learned, and how you can tackle the project too.
Why Build Your Own Stack Pack?
If you’ve priced out custom stack packs, you know they can cost as much as a brand-new jib. Off-the-shelf options are cheaper but often compromise on fit, fabric quality, or features. By building your own, you can:
- Save money (hello, cruising budget!)
- Customize the fit for your sail and boom.
- Choose high-quality materials that withstand UV rays, salt spray, and heavy use.
- Experience the satisfaction of building something that works perfectly for your boat.
It’s not a quick project, but it’s a rewarding one. Every time you zip it up after a long day of sailing, you’ll be glad you made the effort.
What You’ll Need
This project requires a few tools and materials. Here’s what we used:
- Sunbrella fabric: Weatherproof, UV-resistant, and durable. Buy enough to cover your boom length plus extra for seams.
- Marine zippers: Heavy-duty and corrosion-resistant.
- UV-resistant polyester thread: Essential for long-lasting seams.
- Webbing: Reinforces attachment points and secures the lazy jacks.
- Basting tape: Keeps fabric in place before sewing.
- D-rings and grommets: For attachment points.
- Heavy-duty sewing machine: Capable of handling multiple layers of Sunbrella. We used a Sailrite machine.
- Scissors, measuring tape, and marking chalk: For cutting and marking fabric.
- Patience! Not technically a tool, but you’ll need it.
We weren’t starting from scratch. Chris had helped build a stack pack on his mom’s Mason 43, Sea Castle. We analyzed designs from neighboring boats and Sailrite’s library of blueprints. Our goal: a simple design with bottom-edge clasps for easy removal and reinforced Dyneema lazy jack attachment points, eliminating the need for PVC or FRP battens.
Instructions
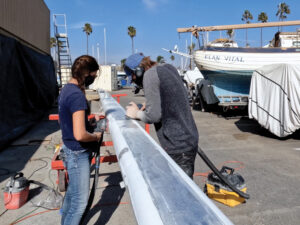
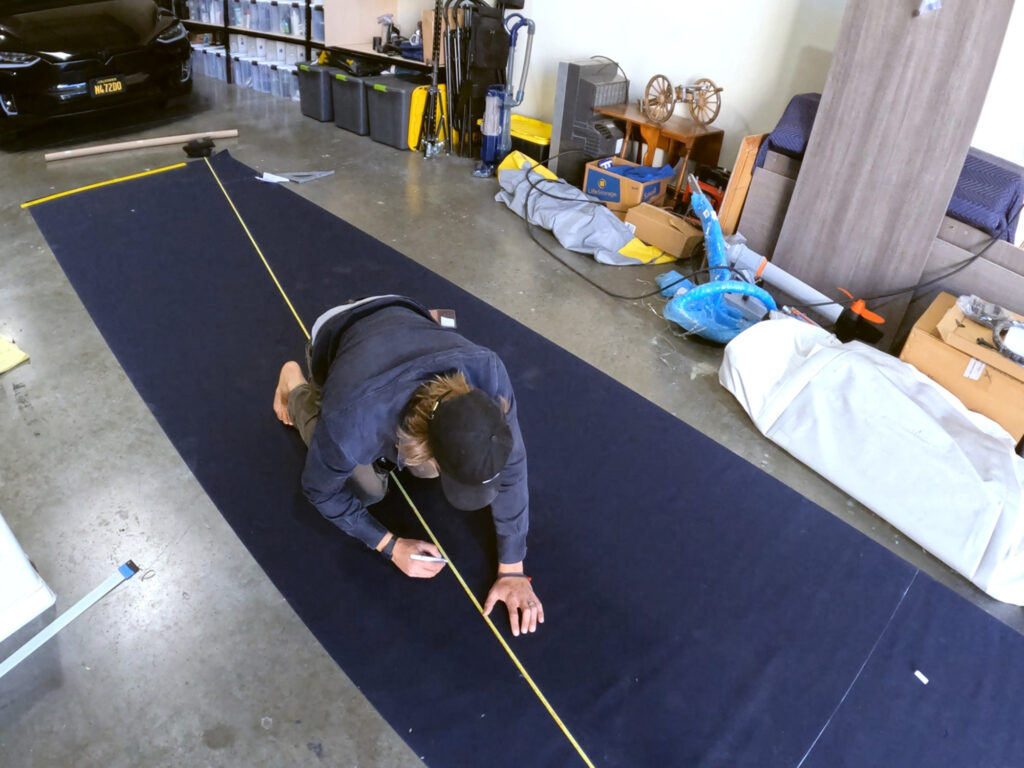
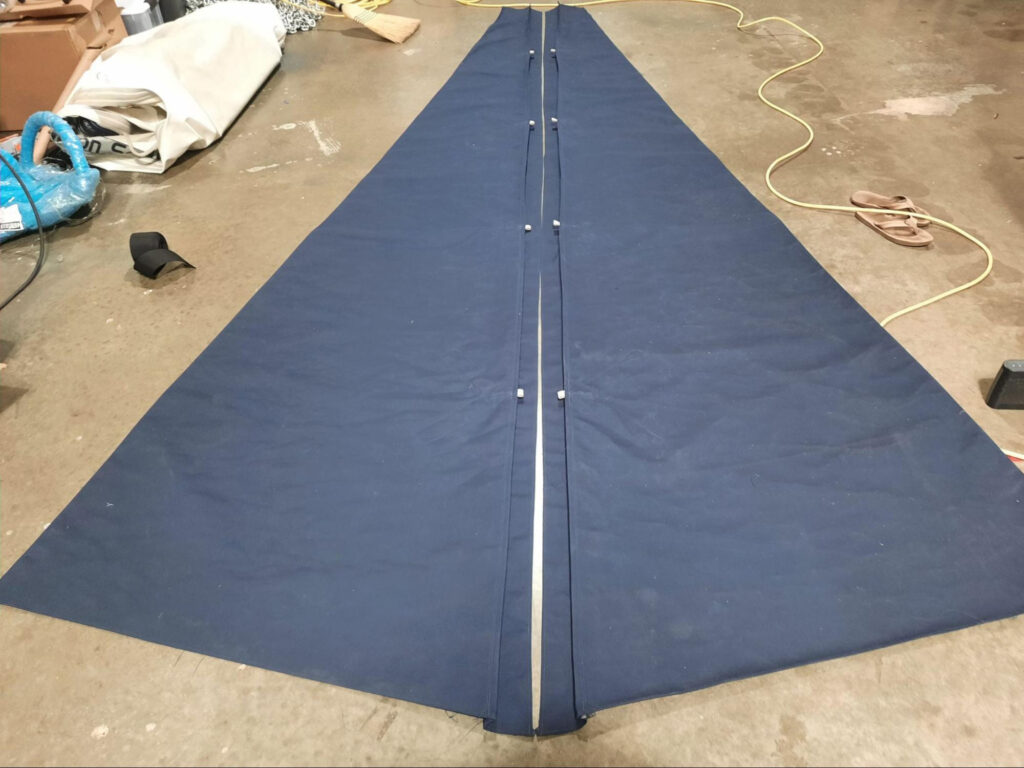
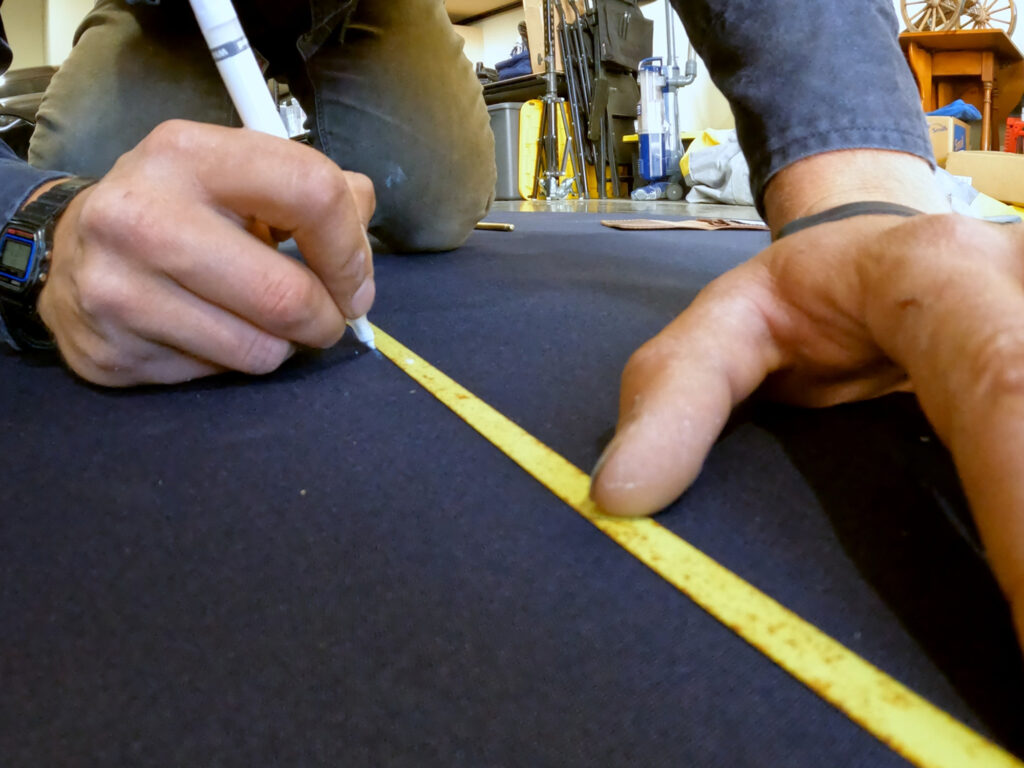
1. Measure and cut. Measure your boom length and the desired height for the sides of the stack pack, ensuring enough space for your flaked mainsail. Use paper templates to map out dimensions before cutting the fabric. We used butcher paper, which made any adjustments a cinch. Once satisfied, we traced the pattern onto the Sunbrella and cut it out.
Pro Tip: Use fabric chalk to mark your cuts. It’s visible on dark fabric and washes off easily.
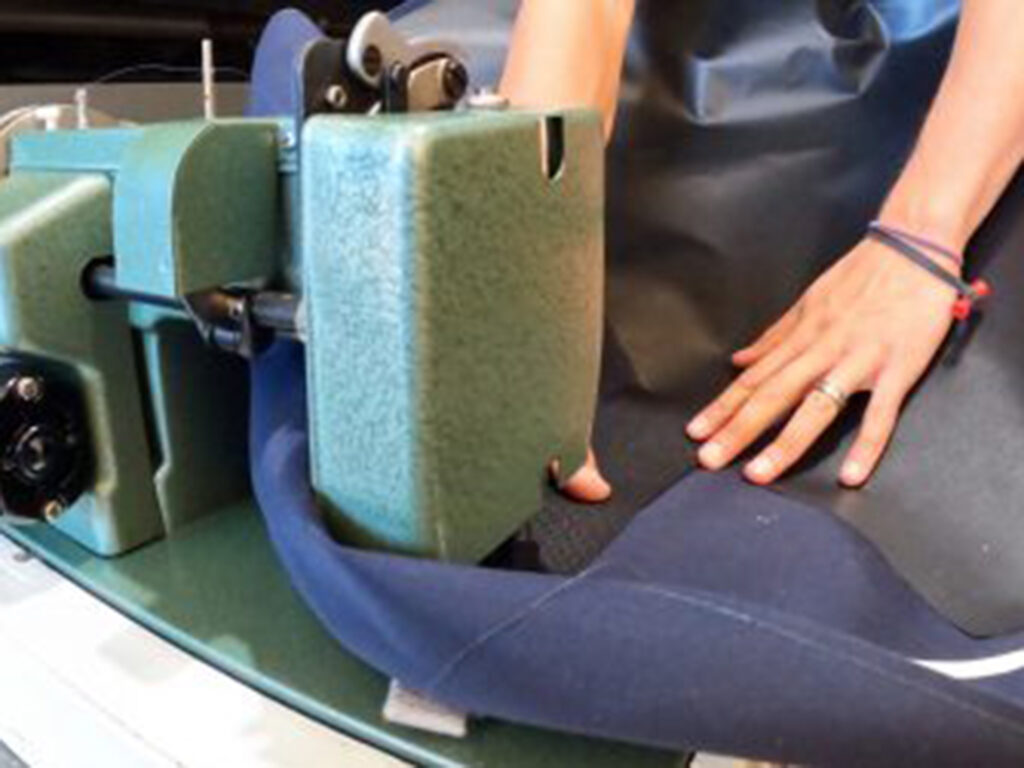
2. Sew the panels together. Sew the side panels to the top using a flat-felled seam, which hides raw edges and strengthens the seams. Basting tape kept everything aligned during sewing, saving us from mistakes.
Pro Tip: Double-stitch all seams. Boats are unforgiving, and the extra strength pays off.
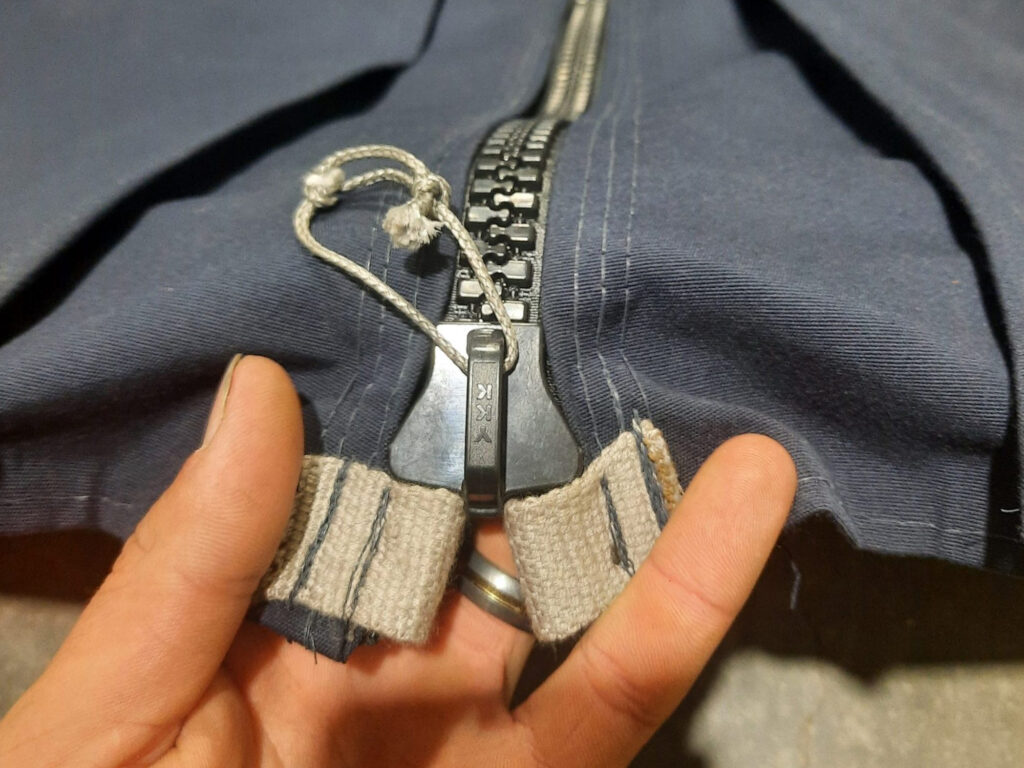
3. Add the zipper. Install a heavy-duty marine zipper along the top centerline. Basting tape kept it in place while we stitched it on using a zipper foot. This step takes patience, so don’t rush.
Pro Tip: Watch a few video tutorials on zipper installation before starting. It’ll save you frustration.
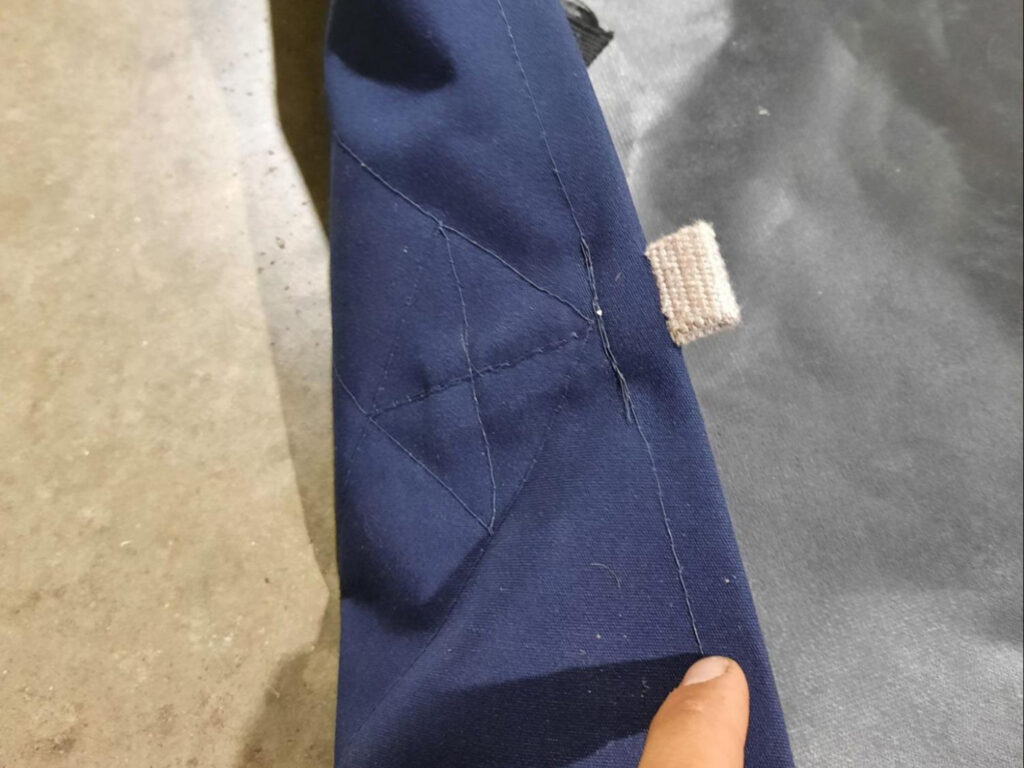
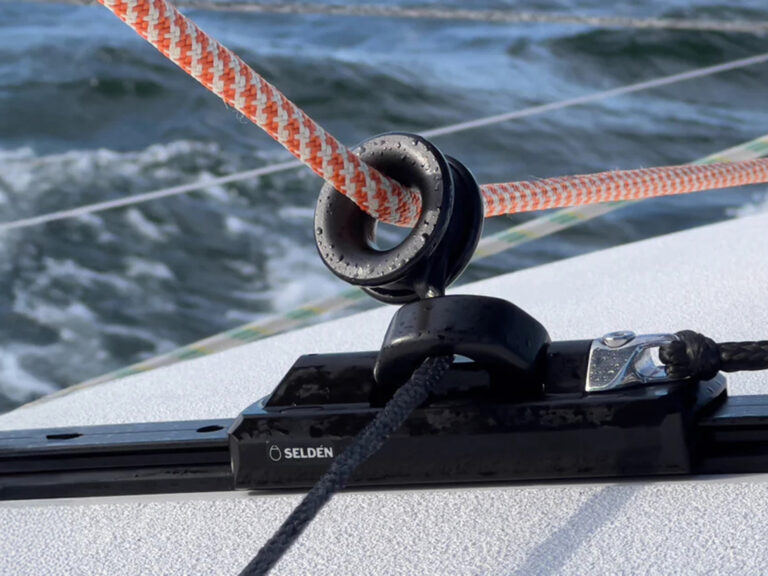
4. Attach the lazy jacks. Reinforce attachment points with webbing and sew in D-rings to clip the lazy jacks. Install grommets on the sides to guide the lazy jacks through. Double-check placement before cutting grommet holes.
5. Final fit and adjustments. Attach the stack pack to the boom, hoist the main, and drop it into the bag to test the fit. We made minor adjustments to seams and grommet placement, but overall, it worked as planned.
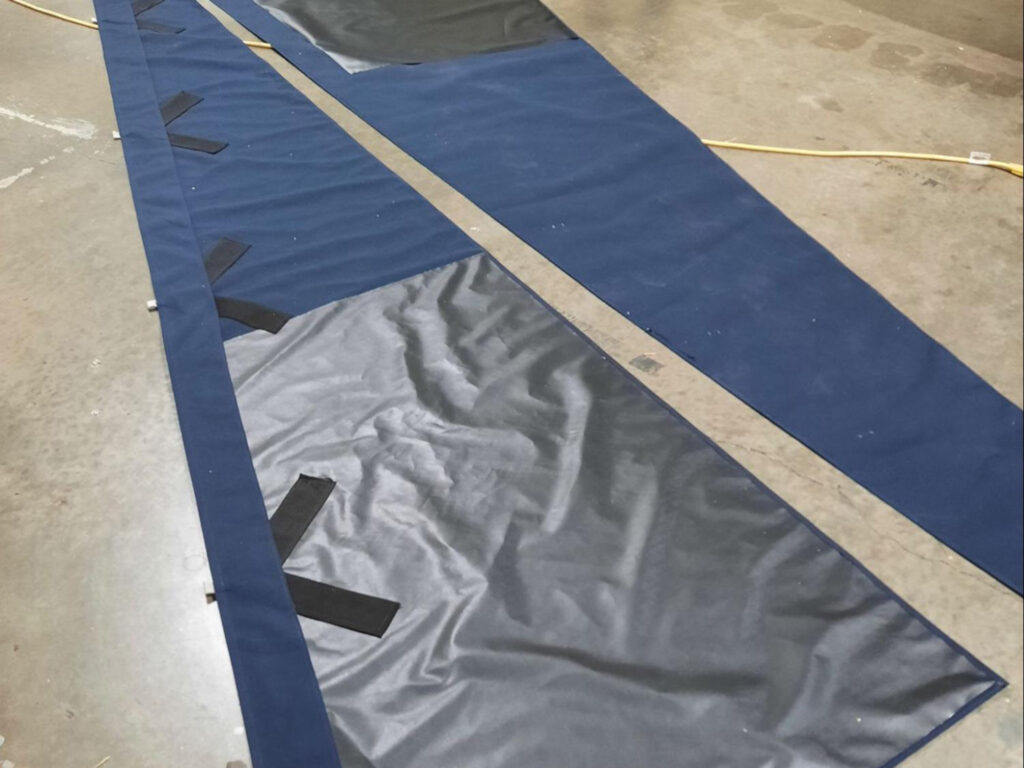
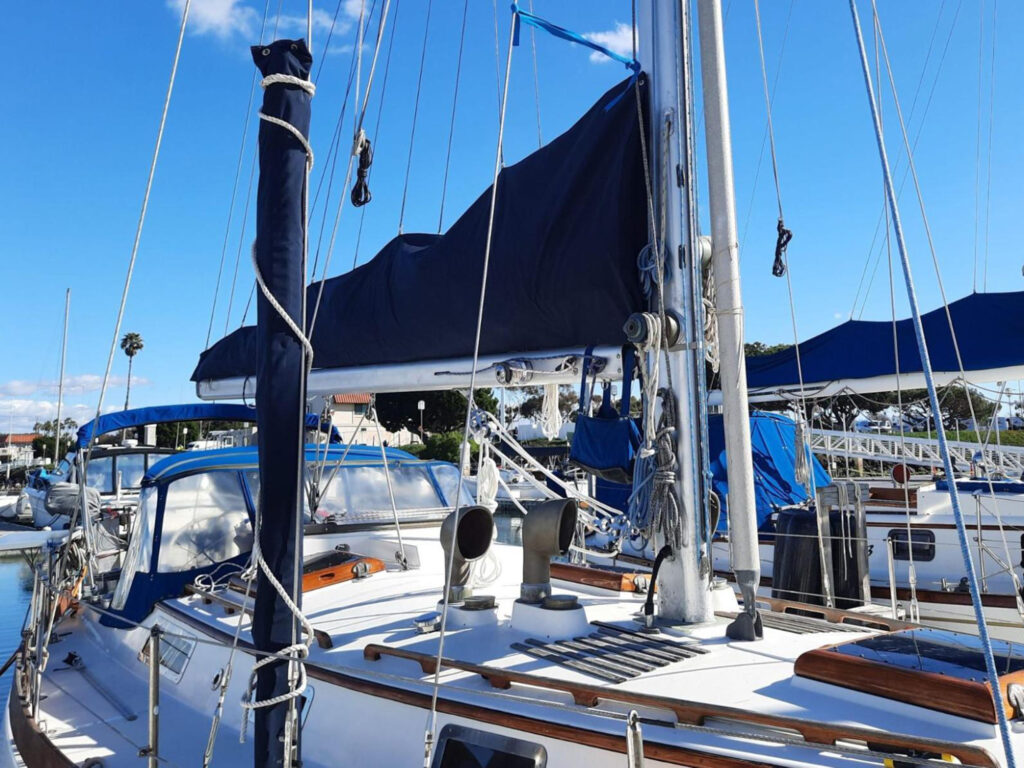
The preinstalled view at our stack pack. The black material is the chafe protectant, with the robust webbing that anchors the lazy jack attachment points.
What We Learned
- Measure three times, cut once. Fabric is expensive, and mistakes add up quickly.
- Use basting tape for everything. It prevents slipping and keeps seams aligned.
- Don’t skimp on materials. Cheap zippers and thread won’t last.· Be patient. This project is detailed but manageable with the right mindset.
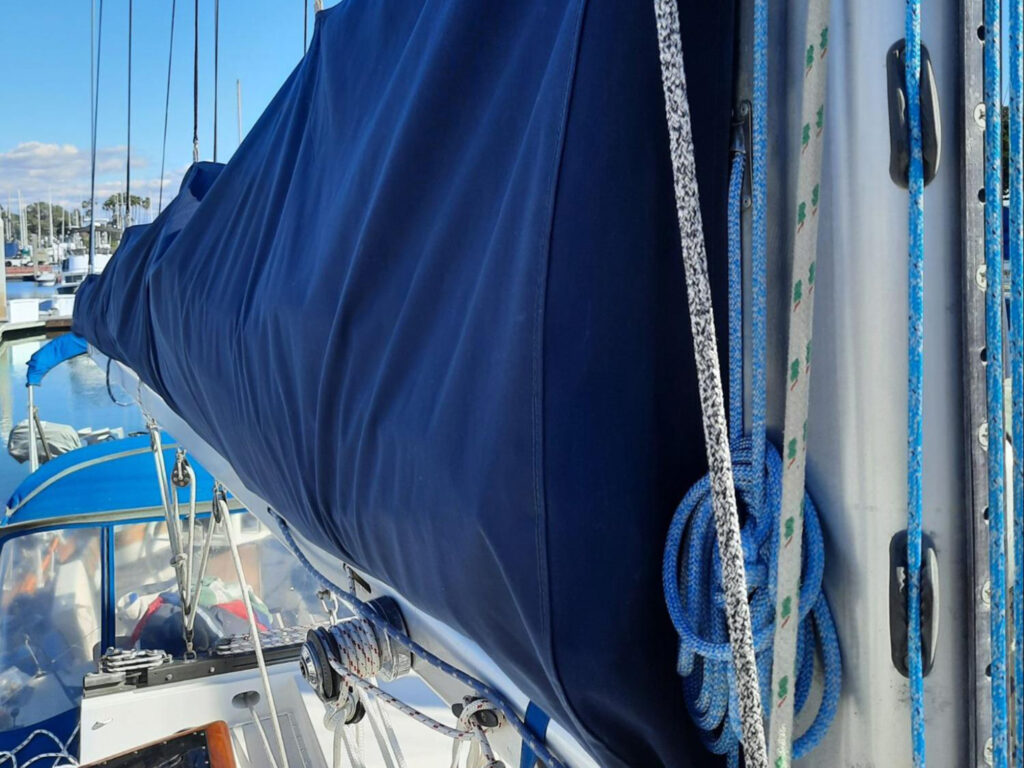
The Finished Product
When it was done, we admired our work. The DIY stack pack fit Avocet perfectly, making sail handling a breeze. No more wrestling with sail ties or struggling in the wind. It also gave the boat a polished, professional look.
Was It Worth It?
Absolutely. Building a DIY stack pack saves money, teaches new skills, and brings a sense of accomplishment. Plus, every time you zip up your sail in under a minute, you’ll feel like a pro.
Thinking about making your own? Drop us a message at editor@cruisingworld.com or tag us @cruisingworldmag in your project photos on Instagram—we’d love to see your creations.