Summer 1997: I was a college kid with a summer gig at the Norwalk Yacht Club in Connecticut. One of my first jobs involved helping varnish the cap rail on the club’s front deck. A friend warned me that this was the boss’s litmus test. I kept my job, but I can still hear my boss warning our crew to mind our “runs and holidays.”
Flash-forward 25 years, and I’ve learned that the chiseled foam brushes my boss favored weren’t exactly standard (see sidebar). Even so, I can only imagine that the Norwalk Yacht Club produced several generations of employees who are fairly deft at foamy-brush brightwork.
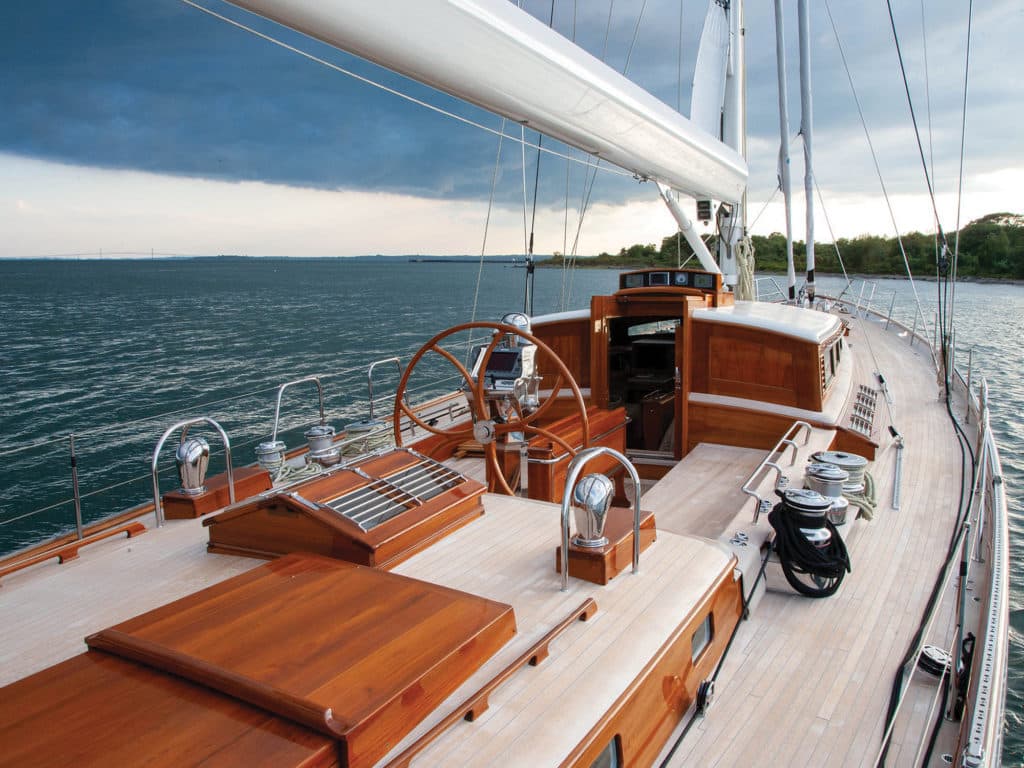
While it’s tough to pinpoint when mariners first started employing varnish, likely to keep spars from absorbing water (read: weight aloft), odds are good that the practice originated in the Mediterranean region and was derived from resins from now-extinct trees. Varnish and varnish alternatives aren’t new, but they can do a great job protecting wood from salt and sunlight while letting owners customize a yacht’s aesthetics.
The trick, of course, is ensuring proper attention to detail before and during application, and performing some annual maintenance.
All varnishes are based on proprietary formulas that consist of solvents, oils, resins, additives and drying agents; however, varnishes can be sorted into two basic camps. Traditional varnishes (“spar” or “marine” varnishes) employ natural oils, usually from trees such as tong or linseed oil, and an alkyd or phenolic base, or sometimes a blend of the two. Polyurethane varnishes employ synthetic (polymer) oils and are either water- or oil-based. Alternatively, they can employ a base that’s a blend of alkyds or phenolics and polyurethane.
Both varnish types have their applications and virtues.
Traditional varnishes are flexible in nature and never actually cure, but instead achieve a “suspended elastic state,” says Jason Spaulding, Epifanes’ technical sales manager. This natural elasticity allows the varnish to bend and stretch with the wood as it moves from loading—such as with spars—or from seasonal swelling and shrinking. While these attributes make traditional varnishes great for working woods, they also mean that the finish isn’t particularly hard or resilient to everyday dings, scrapes and scratches. Spar varnishes have a traditional amber look that many people love, however, wood purists sometimes grumble that it can disguise the wood’s natural grain.
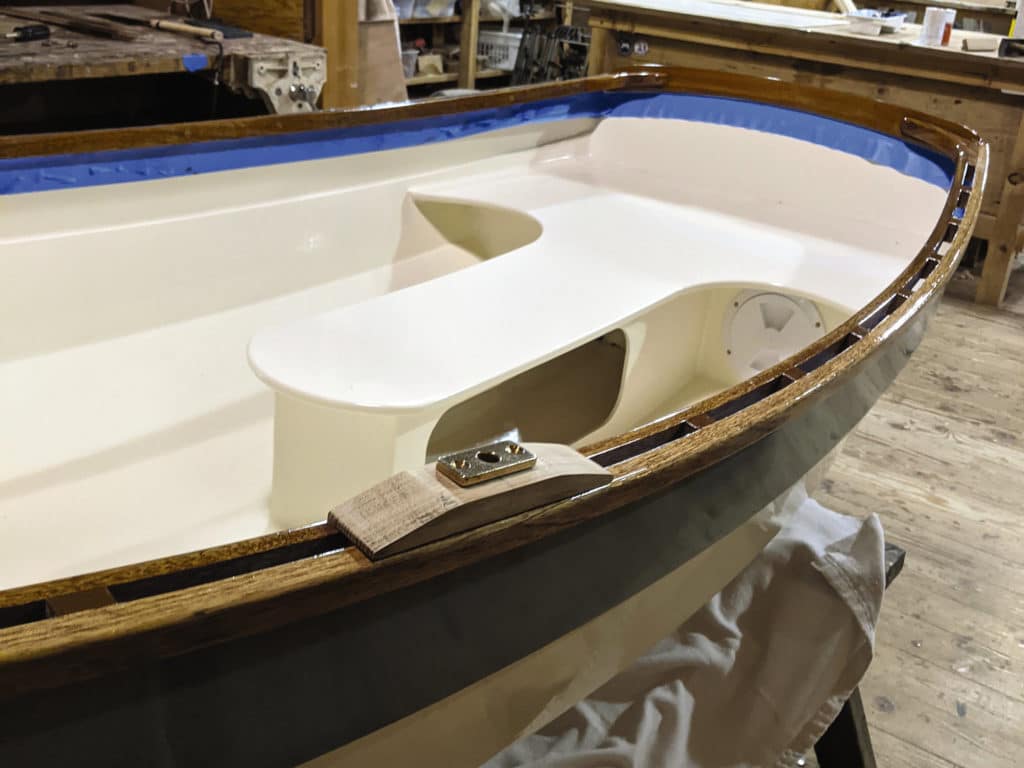
“If people want a traditional look, they should use [spar] varnish,” Spaulding says. “If [they] want a more modern look, they should use a polyurethane.”
Polyurethane varnishes, which tend to have a clear finish, typically yield a much harder and more scratch-resistant “candy-coated” look. The trouble is that these eye-pleasing finishes have a tendency to crack when they are applied to wooden spars, spinnaker poles, and other pieces of brightwork that require some degree of give.
Polyurethane varnishes are available as one- or two-part systems. While both product types can work well, one-part systems tend to be more user-friendly.
“One-part systems remove the chemistry, which helps out a lot,” says Joel Arrington, boat-shop manager at the Northwest Maritime Center in Port Townsend, Washington. “One-part varnishes are better for the DIYer.”
Others agree. “Repairs are much easier with a one-part varnish,” says Tom Maellaro, vice president of marketing at Modern Recreational Technologies, which owns Pettit Marine Paint. “Touch-ups are hard with two-part varnishes. But fixing damage to a single-component product is very easy.” Mariners just sand and reapply.
While spar and polyurethane varnishes are the standard on many boats, some cruisers prefer varnish alternatives such as Cetol. These finishes are often easier to apply and maintain (read: no sanding between coats). Years ago, Cetol-based products had a reputation for yielding cloudy, opaque-looking finishes, but today’s cruisers can select from different-looking finishes. Cetol tends to yield a long-lasting finish that can be a good match for high-use areas such as handrails.
Irrespective of the product, it’s important to think of varnish as a system, much like paint. This system begins with base coats, which are designed to penetrate the wood while giving subsequent layers something to adhere to.
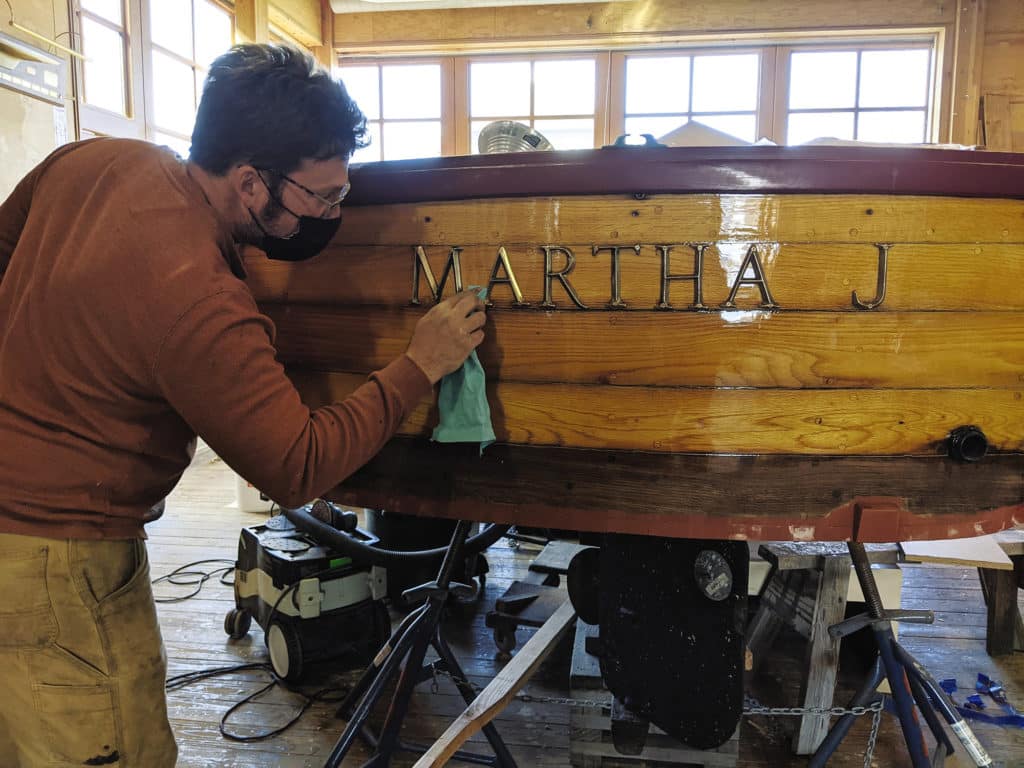
“A sealer coat is most important with teak,” says Maellaro, suggesting DIYers look for a base product that “deeply penetrates the surface and creates a bonding layer for the varnish.” Alternatively, some cruisers opt to use epoxy for the sealer/base coat, and then switch to varnish for the topcoats.
Ultraviolet protection is one of the main benefits of varnish, but not all varnishes are created equally when it comes to the sun. Some have a higher solids content; this isn’t an assurance of sunlight protection.
“It depends on their UV package,” Maellaro says, adding that a varnish could have thick viscosity with a low UV barrier, or it could have low viscosity and high UV protection. He advises DIYers to research UV properties and select a product that matches their local climate (that means more UV protection for a sailboat in Miami than in Seattle).
If properly applied and maintained, varnish will protect a yacht’s wood for years. The trick, like so many things marine, is to ensure that all of the little steps are taken, in proper order, with patience elevated to the highest virtue status.
“Concentrate on cleanliness,” Spaulding says of the pre-varnishing preparation process. “Always use lint-free rags—not a paper towel or a T-shirt—and denatured alcohol. Tack rags are extremely important.”
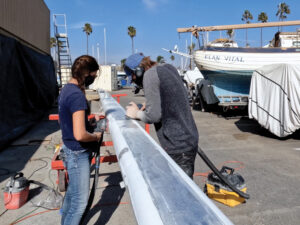
Arrington and Maellaro agree. “It’s about trying to mitigate debris and dust—anything that can get blown into the work,” Arrington says. “Some folks will build a shelter because it’s a more controlled working environment. Also, make sure you have everything you need before you start the project.”
DIYers can often apply varnish while their yacht is on the hard, depending on the yard’s policies, but Maellaro says: “There’s the old adage: It’s better to varnish on the water. There’s no dust, just more bugs.”
Sometimes, the best solution is to apply varnish off-site. Arrington suggests that DIYers see if individual pieces of brightwork can be removed from the boat, varnished in a more controlled environment, and then reinstalled.
Keeping the area super clean should start with a vigorous outing with a Shop-Vac, and then switching to an air compressor (or reversing the Shop-Vac) and blowing away any straggler bits.
“Ninety percent of it is preparation; 10 percent of it is painting,” Spaulding says. “To be a good painter, you need to be a good prepper.”
If you are removing old varnish, Arrington suggests beginning by peeling off the old varnish using a chemical stripper or a heat gun to get down to bare wood. If the old varnish allowed water to enter, he says, bleach the wood to remove staining, and then reinvigorate the substrate using 120-grit sandpaper. “If the wood is too smooth, it will have a hard time accepting the base layers,” he says.
Spaulding says that this is a good time to tape off areas of fiberglass that you want to protect from the varnish, using painter’s tape and plastic sheeting.
Next, Maellaro says, strain the varnish to remove any debris. “If you just use the can, you will contaminate it,” he says.
This process includes base layers. While DIYers can use a variety of sealer-coat products, Arrington recommends spar varnish that has been thinned by 50 percent with a thinner manufactured by the same company. “It’s an absorbable coat that seals the grain,” he says, “and it becomes a building base for the next coats.”
From here, he recommends sanding and then applying a second coat that’s thinned by 25 percent, followed by a layer of full-thickness varnish. (Spaulding recommends a third base coat that’s thinned by 15 percent.) Always go with the wood’s grain.
“Once you’re into the varnish, never go more aggressive than 220,” Arrington says of sandpaper grit. “You can use a long board with a soft pad that’s either 220 or 320 and work down the high spots.”
Thinning also helps to ensure that the varnish dries evenly. A danger, Maellaro says, is the top film drying before the rest of its coat, causing “solvent entrapment,” which can result in alligator-type marks or sometimes pinholes in the finish. If this happens, the solution is to sand off the compromised layer, thin the varnish, and reapply.
“Ambient heat is really the only way to go,” Spaulding says about getting varnish to dry. “If you force it, you’ll cause issues.” He recommends applying varnish on days when ambient temperatures are 50 to 85 degrees Fahrenheit.
Maellaro agrees, but adds that humidity is another important consideration. “Never varnish if the weather is threatening or raining,” he says. “High humidity is also bad.”
Likewise, Arrington warns that wind has ruined more than one final coat.
Once the right conditions present themselves, varnishing is a matter of patiently applying a thin coat (roughly 1 to 3 mm thick, with thinner coats being the ideal), waiting for it to dry, lightly sanding the surface with progressively finer sandpaper, and then applying the next coat. While sanding between coats is the norm, Maellaro says that—product depending—DIYers can sometimes skip the sandpaper if they apply coats within 24 to 36 hours of each other.
“Eight coats is the minimum,” Spaulding says. “But 10 to 12 coats is better.”
Which is a lot of prepping, sanding, painting and waiting. “My number-one tip for a perfect coat is patience,” Arrington says. “This starts with setup, and it ends with attention to detail.”
That attention to detail includes selecting the last weather window. “Always apply the final coat in the morning, after the dew has evaporated” Spaulding says. “Evenings are dangerous. Temperatures drop. Dew is a big issue. If it settles, it can act like a wax that doesn’t let the solids move to the surface.”
Once the final coat has been applied, owners can take steps to ensure that their brightwork stays sharp-looking.
“Maintenance, maintenance, maintenance,” Spaulding says, adding that a single annual maintenance coat is likely sufficient for boats that reside under normal UV conditions, while two annual maintenance coats are the norm in Florida or the Caribbean. “Putting down eight to 10 coats and then letting it go to hell a year or so later doesn’t make sense to me,” he adds. Customers can get 15 years out of a brightwork job, provided that they are vigilant with maintenance.
Finally, owners should consider supporting their local canvas shop. “Canvas does wonders with UV,” Arrington says. “It looks expensive upfront, but it will save you a lot of time.”
While there are a lot of considerations when selecting a varnish or varnish alternative, not to mention hours of work required to get a sparkling finish, the aesthetic results are rewarding, and the protective results can pay dividends for years.
One final caution: Buy only marine-grade products. Cheaper solutions abound at big-box stores, but they are not formulated to endure the marine environment’s frequent salt-and-sunshine carpet bombings.
David Schmidt is CW’s electronics editor and occasionally writes on other gear topics.
Tools of the Trade
While I learned to varnish using a chiseled foam brush, experts discourage this tool. “Foam brushes introduce air bubbles into the finish,” Tom Maellaro says. “And they get floppy as the solvents eat the foam. If you’re not paying attention, a foam brush can unmold and expand…and can apply uneven amounts of finish.” He favors badger-hair brushes, while Jason Spaulding suggests Corona Europa brushes, which are badger-style brushes that fetch between $10 and $35.
Vendor List
- Ace: acehardware.com; from $10
- AwlGrip: awlgrip.com; from $6
- Bonstone: bonstone.com; from $85
- Bristol Finish: bristolfinish.us; from $75
- Coelan: supplyground.com; from $80
- Deft Defthane: ppgpaints.com; call for pricing
- Epifanes: epifanes.com; from $25
- HMG: hmgpaint.com; call for pricing
- Interlux: interlux.com; from $25
- Minwax: minwax.com; from $15
- Pettit: pettitpaint.com; from $30
- Vermont Natural Coatings: vermontnaturalcoatings.com; from $10

