There is a general rule of thumb that standing rigging lasts 10 years. In reality this is a guide more than a rule. Knowing what degrades rigging components can help you safely carry it beyond, or recognize when it comes up short. What’s truly important is seeing and resolving a fault before it causes a bad day on the water.
Knowing the state of a boat’s rigging might follow a progression something like this: first, the surveyor’s examination before purchase. But surveyors aren’t usually riggers, so Prudent Sailor brings a pro in—whether for a new boat purchase or pre-cruise preparation for next level inspection. To be fair, no rigger’s inspection will reveal all faults. Compounding that, not all riggers are not skilled at sleuthing for them.
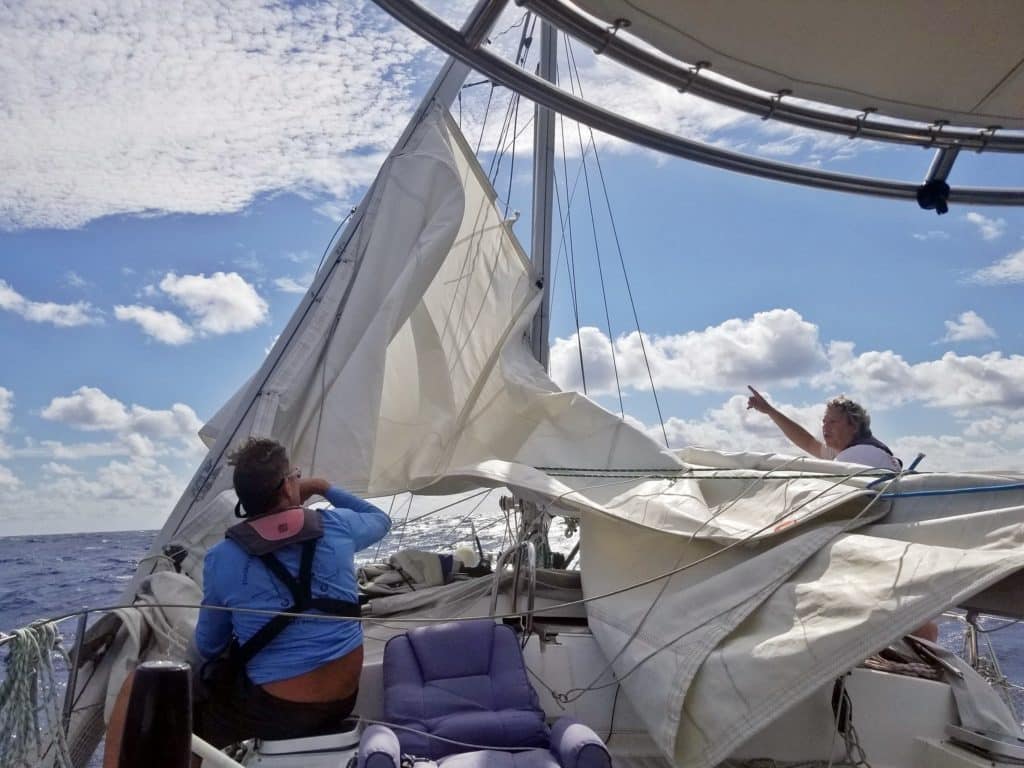
The rig came down on a client’s boat recently, offshore east of the Bahamas. They rigging wasn’t that old, and had a year-old pro inspection. The cause was easily identified in the aftermath; a component aged past useful life. It would be easy to blame the rigger, but back to the earlier point—it’s a lot to expect that any single inspection can identify all flaws. Every sailor becomes the de factor rigger aboard their boat.
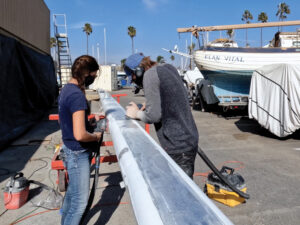
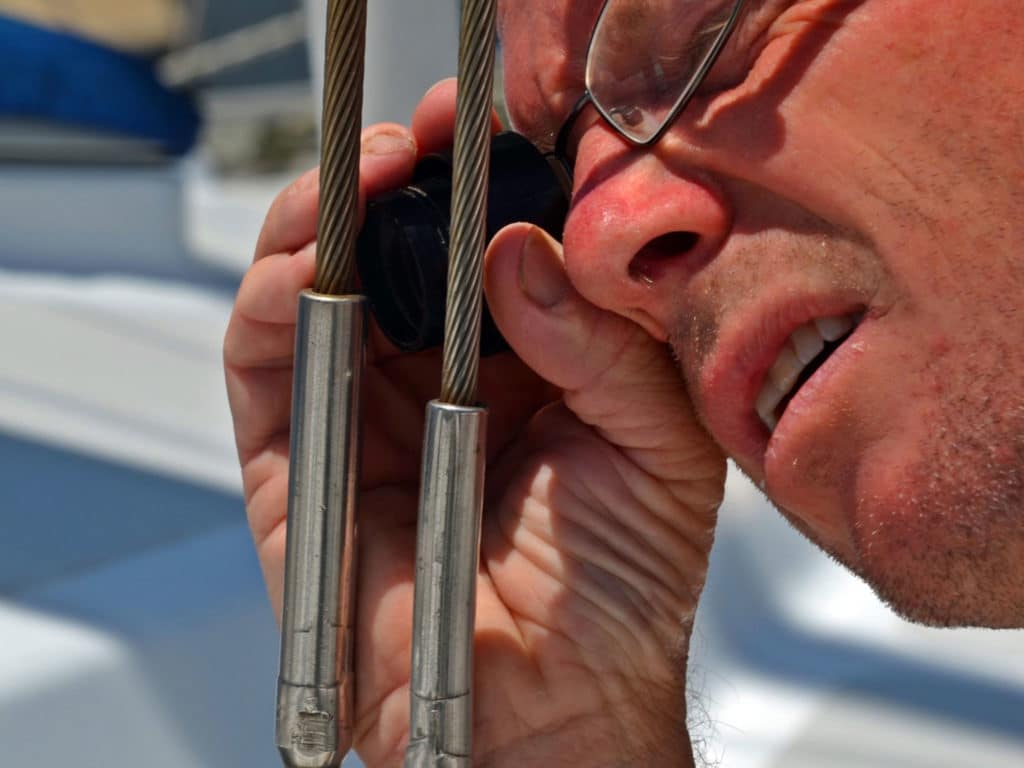
Jamie’s often found with a loupe in his hand checking out rigging. He estimates about 100 rig inspections in the last half dozen years. Not a huge number, but enough to see themes to problems that frequent cruising boats. They boil down to four root causes. So take his list below, get an inexpensive loupe (like this one – $13.95! – which hangs neatly from a finger when aloft), and get to looking.
Alignment
Spreaders are engineered to withstand compression force. Wire, turnbuckles, tangs, etc. resist being pulled apart—tension force. You already know the different force directions.
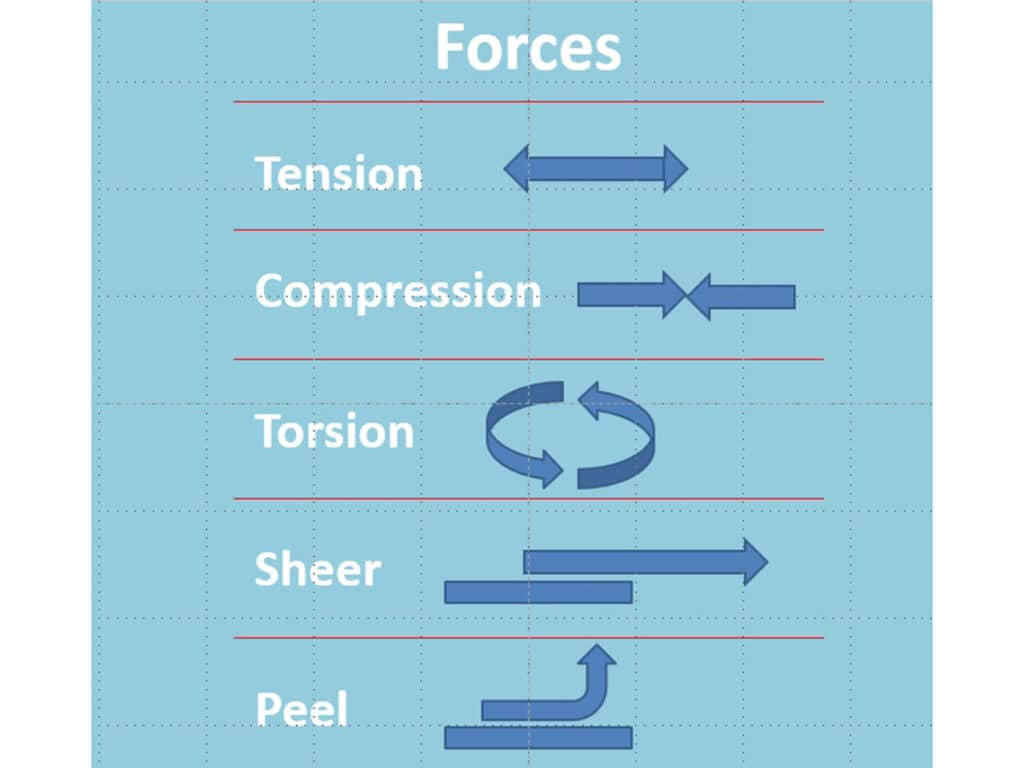
As a de facto rigger, you understand that when a component is pulled in a way it’s not engineered for, it’s going to break. A common example of misalignment is a bad swage. Manifest with a curved shape, it gets called a banana swage. This causes the wire strands to be unequally loaded and the top of the swage to be point loaded.
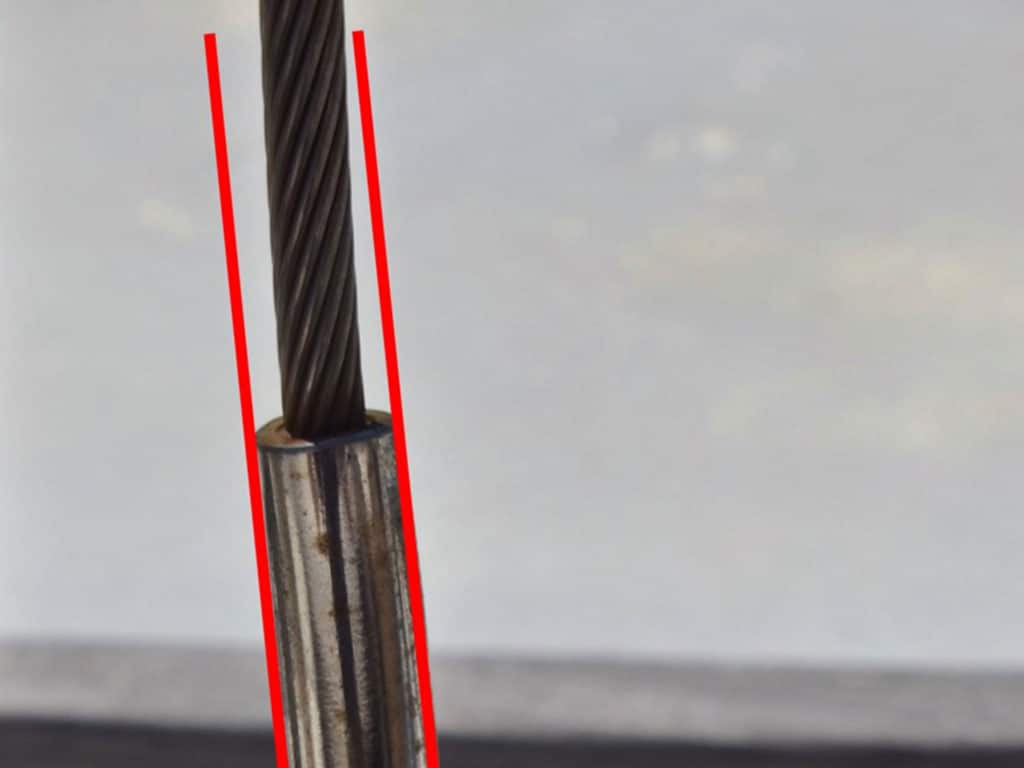
Another example is a chainplate not aligned to the attached stay, creating a host of problems! The chainplate may flex and work harden. The clevis pin point loads, and the toggle carries tension (good) and torsion that slowly pull it apart.
Articulation
Rigging consists of a mix of materials with properties chosen to withstand very dynamic loads. Mostly we’re talking about stainless steel and aluminum alloy parts joined together by tangs, toggles, swages, etc. More important than the technical names, though, is understanding how they link to suit their dynamic movements. Picture sailing downwind with sails eased out. Mainsheet is attached to a tang on the bottom of the boom. The mainsail’s pushing the top of the boom forward. The mainsheet resists, pulling the bottom of the boom aft. The gooseneck is forcibly rotated (torsion) though it’s only designed for up/down and side-to-side movements. De facto rigger regularly checks the gooseneck for excess play.
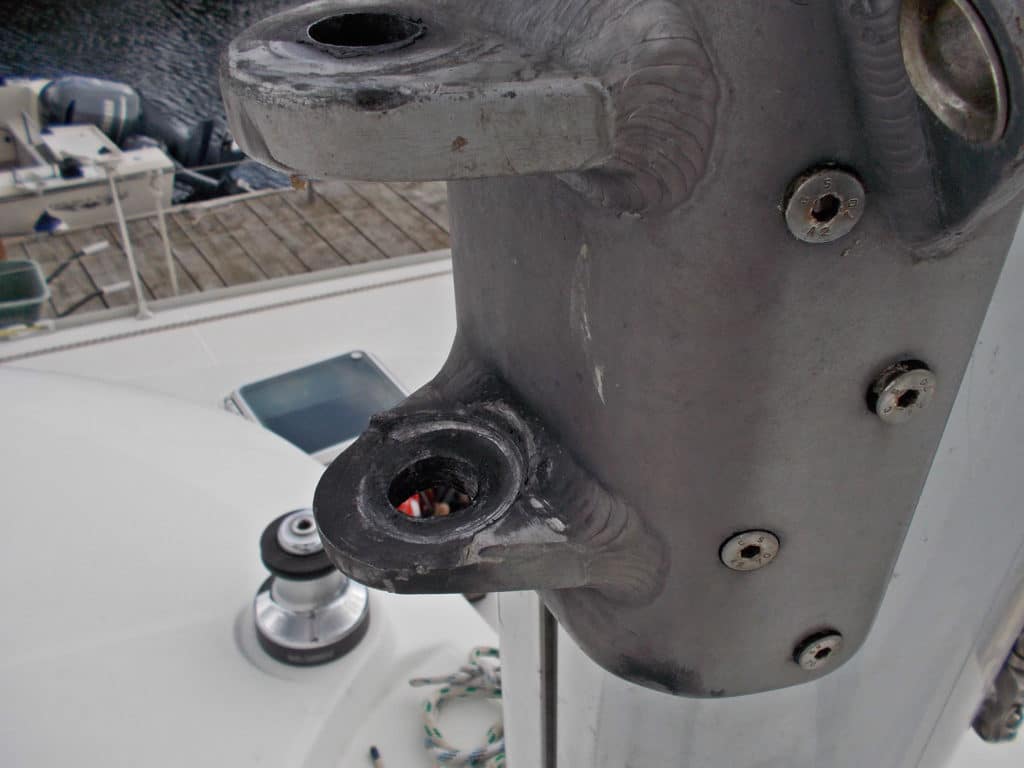
Another example is the cransiron (good trivia word!), which is the headstay tang at the end of a traditional bow sprit. This fitting is made for tension aligned to the wire. Hoist the headsail, sheet it in and watch the headstay sag to leeward… sideloading the cransiron. We met a cruiser in Panama who learned of this the hard way, with mast over the side.
Economy Vs Engineering
A manufacturer’s choices to save money may not be obvious with shiny new rigging. Give it time and the right ingredients and flaws in the material properties may emerge. A good example is anything stainless steel, or bronze fixed to an aluminum mast/boom. Add a splash of salt and galvanically inferior aluminum will sacrifice itself to the stainless steel in the same way a zinc anode crumbles when protecting a propeller. Now add a trickle of stray electricity and the normally slow process gets very active. Aluminum degradation is manifested by bubbling mast paint and whitish/gray color around the fitting. This corrosion will eat through a mast wall!
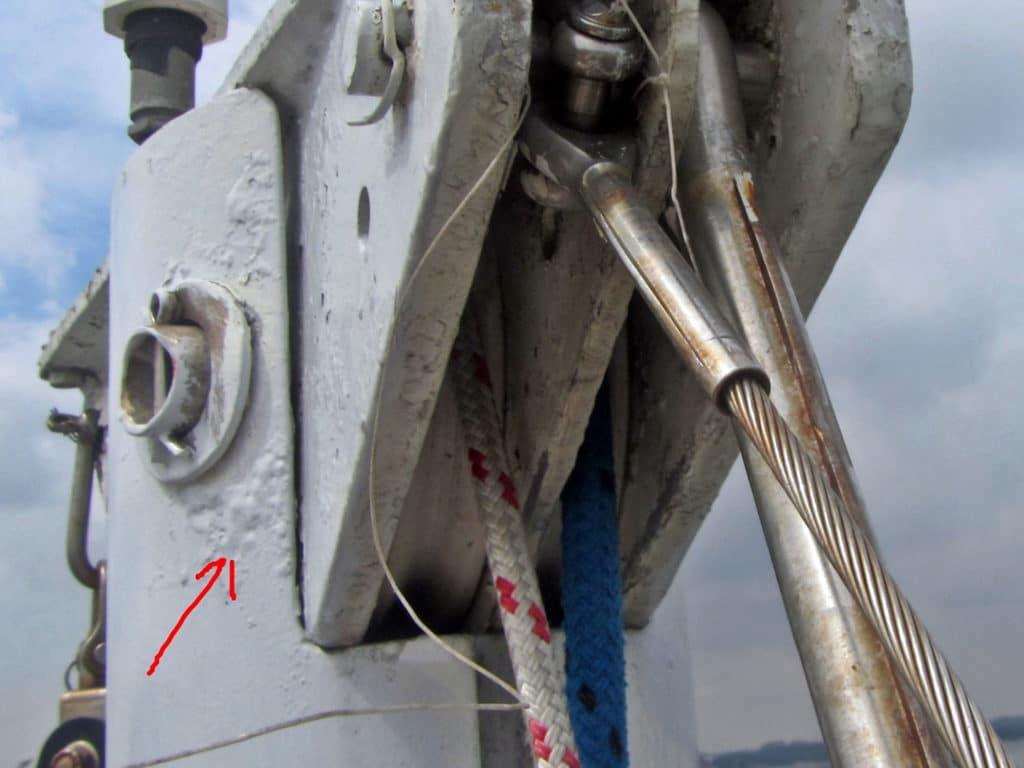
Another cheap-out is chainplates made thinner then engineering calculations indicated. To account for this, large washers are welded at the clevis hole to beef up the plate thickness. But that sets up a new problem: now you have three plates which must stay securely welded together under the constant attack of salt, water, and abrasion. De facto rigger keeps vigilant, knowing it’s smaller details like this that create problems.
Degraded Metal
Rigging components are engineered with a safety factor to account for wear and tear. This assumes predictable rates of wear. Clamp a flag halyard cleat to your cap shroud, and you’ve changed the math. The flag flutters away, ever so slightly twisting the clamp. This scrapes the micro-thin oxide layer that makes stainless steel resist corrosion. Meanwhile the clamp band catches salt, which holds moisture, and dirt on the very same unprotected surface. Further, the clamp compresses the 19 wire strands, creating a disruption in the load/relax cycle.
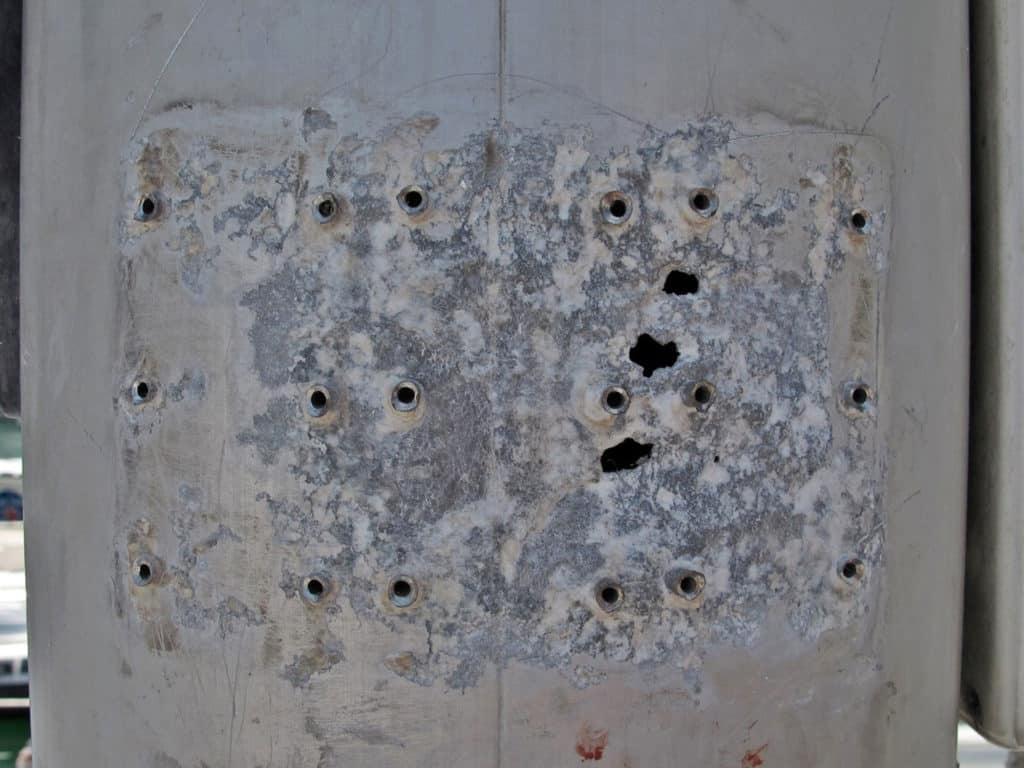
De facto rigger keeps that 10X loupe handy to inspect these areas. Better yet, they ditch the clamp cleat entirely!
Genoa sheets rubbing against shrouds all contribute to a fast rate of material degradation. De facto rigger loosens the sheets to reduce abrasion on the metal, then inspects. Look for localized pitting and discoloration that indicate compromised metal. How compromised? That’s a hard judgement and maybe time the call in the pro. If you cannot visibly see the metal you cannot inspect it.
Chainplates may be shiny above deck level, but a surface deprived of oxygen that stainless must have, in a wet salty environment will degrade the metal in time. But the signs are there, and if de facto rigger looks, can see those signs before a serious failure occurs.
Aboard Totem
I’m grateful for diligent checks by our de facto rigger, Jamie, and have learned so much along the way from our dock walks spotting issues on other boats and having him hand me the loupe to understand what he’s seeing beneath the lens. We preventatively re-rigged before taking off in 2007; we did it again in 2019. The only portion of our rig that didn’t pass inspection was the backstay, but rather than replacing the wire my Prudent Sailor opted to make a full replacement. Even if we didn’t SEE it, the potential was real enough and our plans for heading out across the South Pacific made it the right thing to do!
And now here we sit, back at the dock in Santa Rosalia; wings clipped by our engine issues. Trust me, it’s made tomorrow’s TOTEM TALKS a touch poignant for this crew. We’re laying low, for the most part. Jamie and I have been busy with seminars and event planning (see below) and the down time is a great opportunity to expand work with our coaching family. While we’re not out and about much, making time for fun is important, and we alternate game nights with family movie nights. Anyone have a good SciFi series to recommend?
Upcoming Events
Interview with a cruiser: on Wednesday, Feb. 3 we’re taking part in the Wooden Boat Festival’s winter program, ASK AN EXPERT. Program director Barb Trailer will ask burning questions, and we look forward to answering any others posed by participants! Register here for our event, or the series.
Rigging Fundamentals (Feb. 18): Interest piqued by this post? Consider it a preview of his rigging for cruisers session as part of Salty Dawg Sailing’s winter seminar series! Register on Salty Dawg Sailing! Coaching clients get a discount.
HEAD UP webinar series for women: kicking off Feb. 22nd, Captain Teresa Carey offers an interactive webinar series and guest instructors – designed especially for women. Her goal is to boost confidence in the fundamental aspects of sailing and cruising. I’m leading the penultimate session on March 15: watchstanding. Learn more at MorseAlpha.com/webinars.
We’ll be also be presenting on Feb 11 with Ocean Cruising Club members, and on March 16 with Coho Hoho Rally Runners – free to members, two organizations we are proud to support.

